This Wild Season

Sharing what I'm learning in the kitchen as well as outside of it.

Navigation
  • Home
  • Blog
  • Recipes
    • Appetizer
    • Breakfast/Brunch
    • Side Dish
    • Main Course
    • Dessert
    • Drinks
    • Personal
  • About

Pico de Gallo and some Mid-Week Inspiration

August 6, 2014 by Asharae 5 Comments

Every once in a while I like to share a little mid-week inspiration here on the blog. I find it so helpful to take a step back and look at the things that have been inspiring my days lately. These are a few of the things I’ve been enjoying – I highly recommend checking them all out!

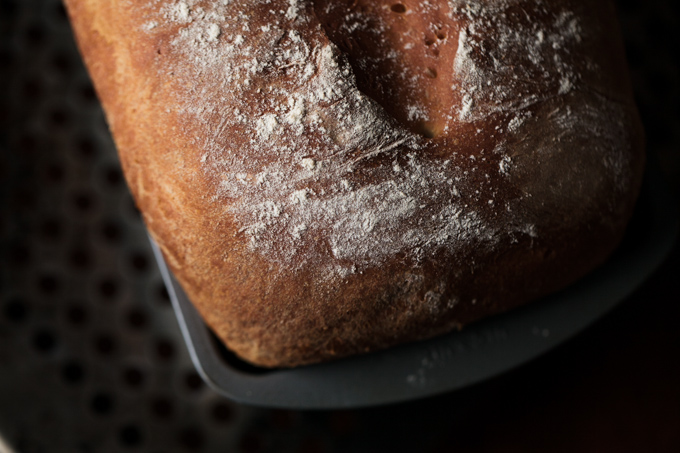
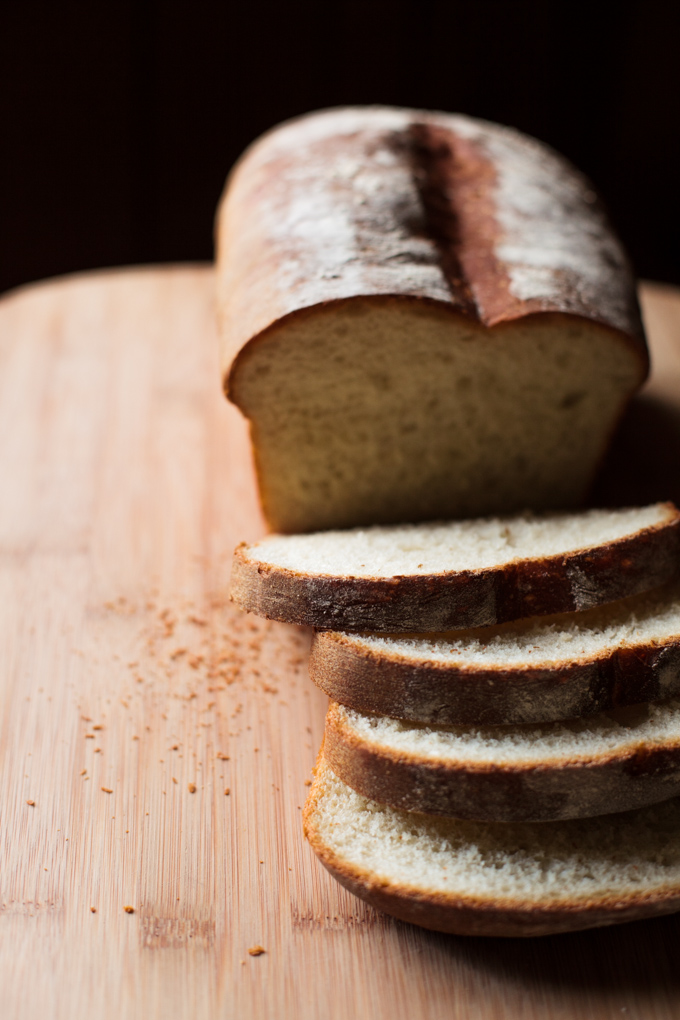
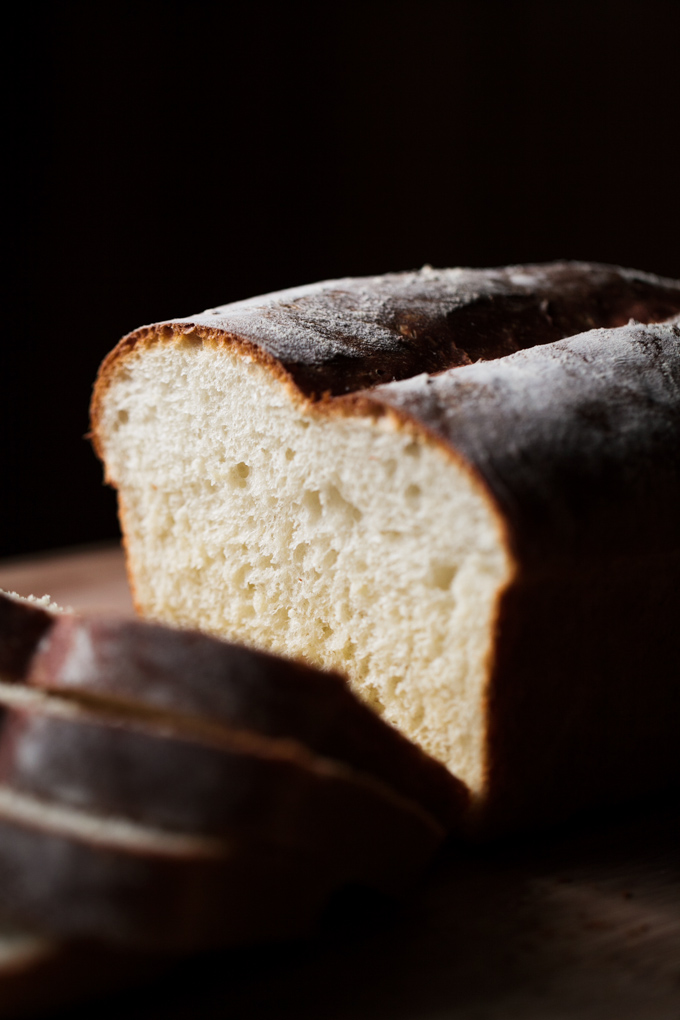
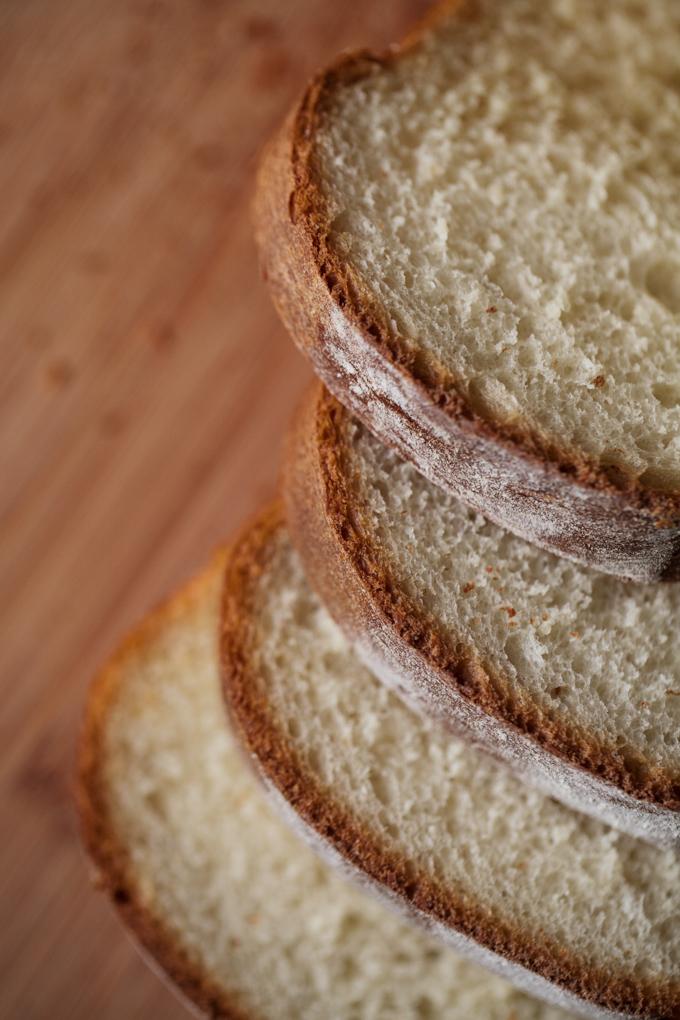
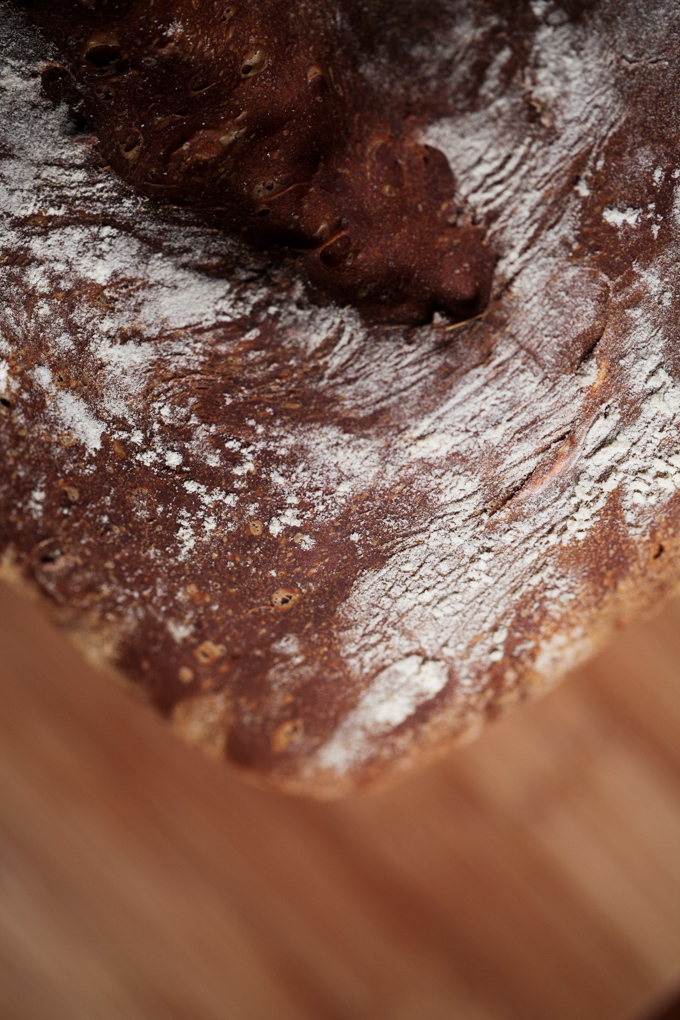
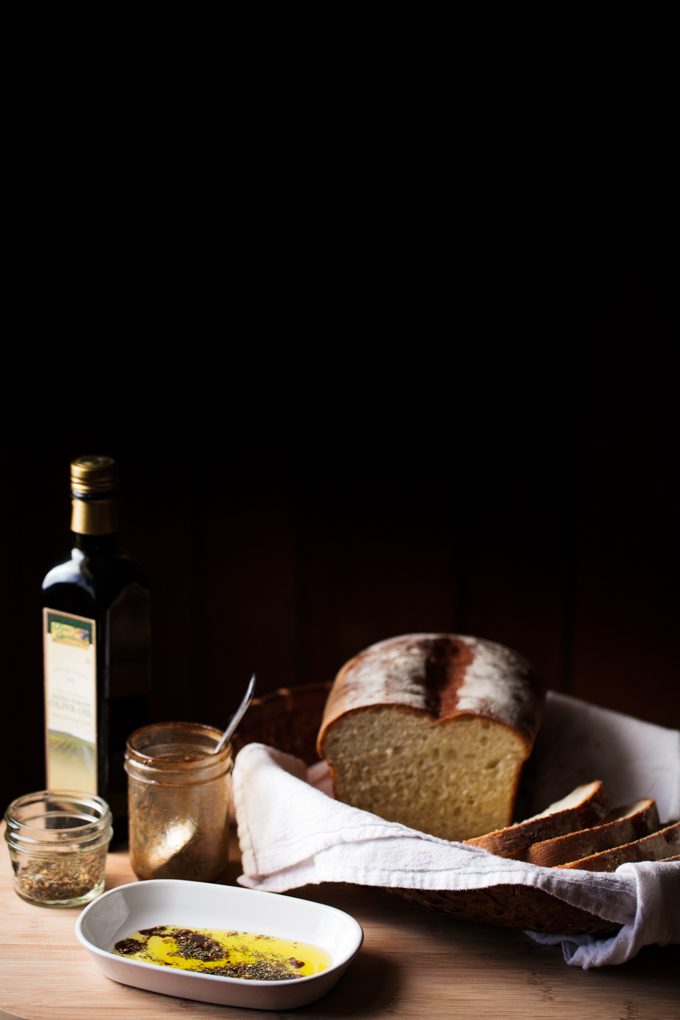
The Smitten Kitchen Cookbook. This is the first cookbook I’ve ever read cover-to-cover. My dear friend Paige gifted it to me for my birthday back in May, and I spend the last few weeks moseying through each page, devouring each of Deb’s stories and recipes. Most nights I’d sit in bed and read through a few recipes until I got so hungry I either had to get up and grab a snack or make myself go to sleep.

Two of the weddings we’ve photographed this summer even used The Smitten Kitchen Cookbook as their guestbooks – an idea that I’m obsessed with now. “Sprinkle a little love throughout our guest book and we’ll add it to our next meal!” Adorable right?

Although I feel that this cookbook is filled with more wintery comfort-food recipes than summer ones, we’ve enjoyed making several of Deb’s recipes. So far my favorites have included her corn risotto-stuffed poblano peppers, baked ranchero eggs, and big cluster maple granola. So good.

Courtney and Ryan Thomas’s Story. These dear friends of ours have been on quite the whirlwind journey of letting go of their own plans in exchange for the Lord’s. Their story of adoption is truly beautiful – you can read it in their own words over at their blog. They adopted their daughter Nara just over a year ago and recently have felt called to return to her home country of Ethiopia and serve as full-time missionaries there. They’re currently on a three week “trial-run” trip to work with the ministries they’d be serving in and see how Nara does being back in Ethiopia.

I love these sweet words they wrote on their blog several months ago, “We know that God is already working on sweet Nara’s heart and preparing her for what is to come. We have prayed big things over her from the start and Courtney has said from the beginning that she wants Nara to be a little Esther. We even considered Esther as a middle name for Nara. Esther, like Nara, was adopted. I’m sure her life was hard and considering her circumstances she probably felt as if there was no purpose or calling on her life. However, it turns out, as a result of the events that God sovereignly orchestrated in Esther’s life, she had the chance to save her people. We want the same for Nara. Before we even brought Nara home we both decided that we did not want to “Americanize” Nara, but to prepare her to one day go back and help the people of Ethiopia. We just didn’t realize it would be this soon!”

We’ve been filming bits of Courtney, Ryan, and Nara’s story throughout the past couple years, not knowing what the final film would look like. We now have the opportunity to tell their story in an even more professional way through a film contest that The Music Bed is putting on. We would LOVE your votes to help us tell their story more fully through free music licenses, gear rentals, and sound equipment! If Courtney and Ryan discern that full-time ministry is what they’re being called to, we’d love to share their story in a way that would help them raise support in the future.

Female Entrepreneur Association. I’ve been recommending this site to all my friends who are starting up their own businesses. Their mission is to inspire and empower entrepreneurial women around the world. First of all, Carrie has the most fabulous accent, so she’s fun to listen to. She posts inspiration each week – anything from how to set goals and create a successful business manifesto, to overcoming your fears, to creating social media strategies. If you sign up for her newsletter, she’ll send the blog posts right to your inbox – I’ve found that super helpful for my scatterbrained self.

Pinterest. On what days does Pinterest not inspire me? If you don’t enjoy using Pinterest, I’ll either accuse you of not being a “visual” person or try to convince you that you’re not following the right people. They’ve smartened up their site in the last several months so that finding people who pin things you’d find interesting or inspiring is much much simpler!

When you click on a pin, try scrolling down below it. Have you discovered the “Also on these boards” and “Related pins” sections? If not, then you’re missing out! I also like to click on one of the “Pins from..” profiles at the top of my own home page. From there I explore who those people “Pin from” – that’s a great way to find new favorites! Take some time to explore and find new boards or people that inspire you. This board is my personal favorite this week. I just love all the colors and textures – reminds me of summer!

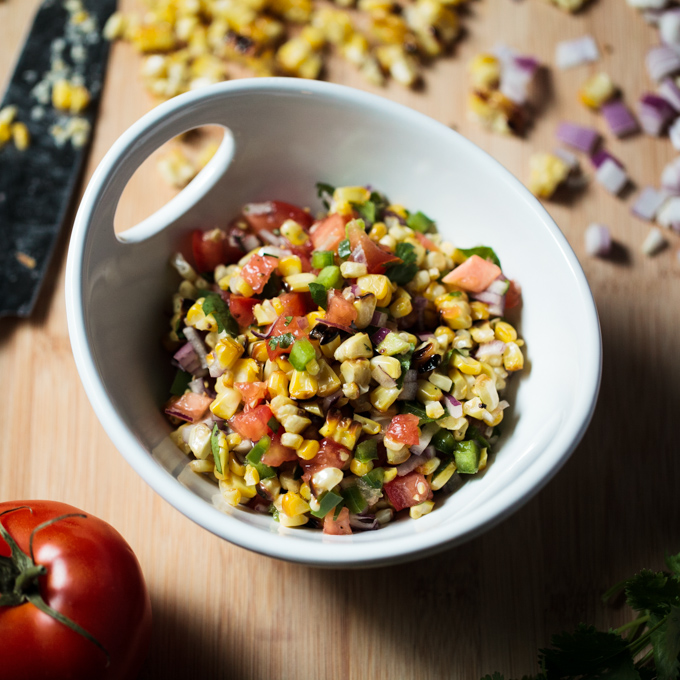
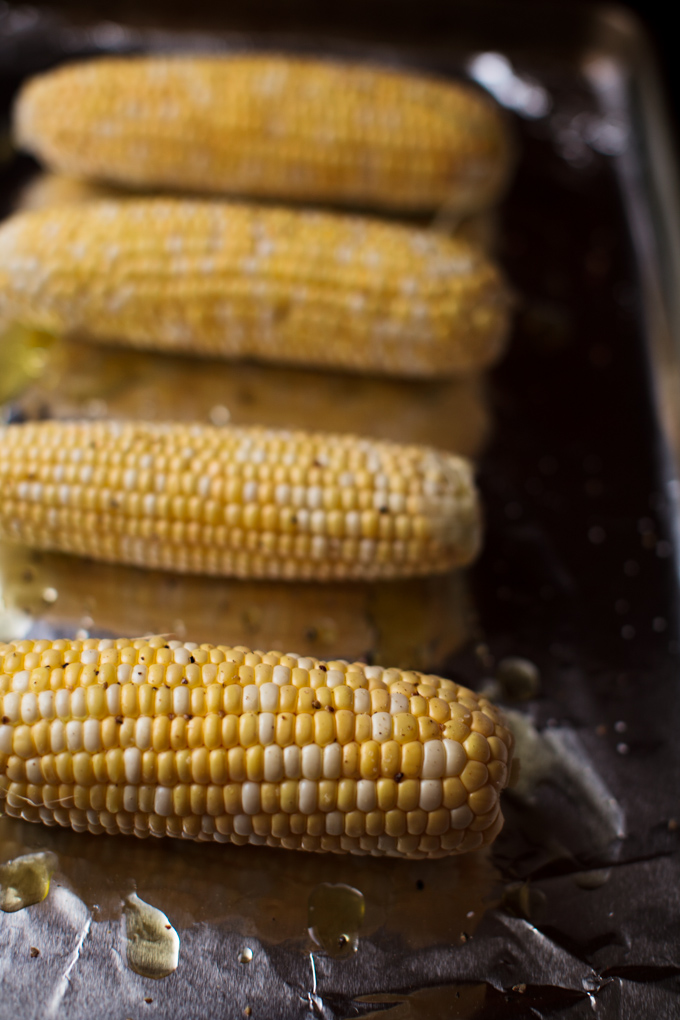
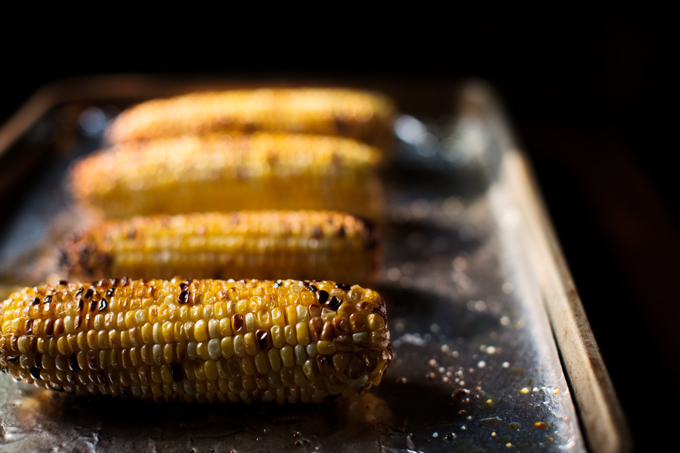
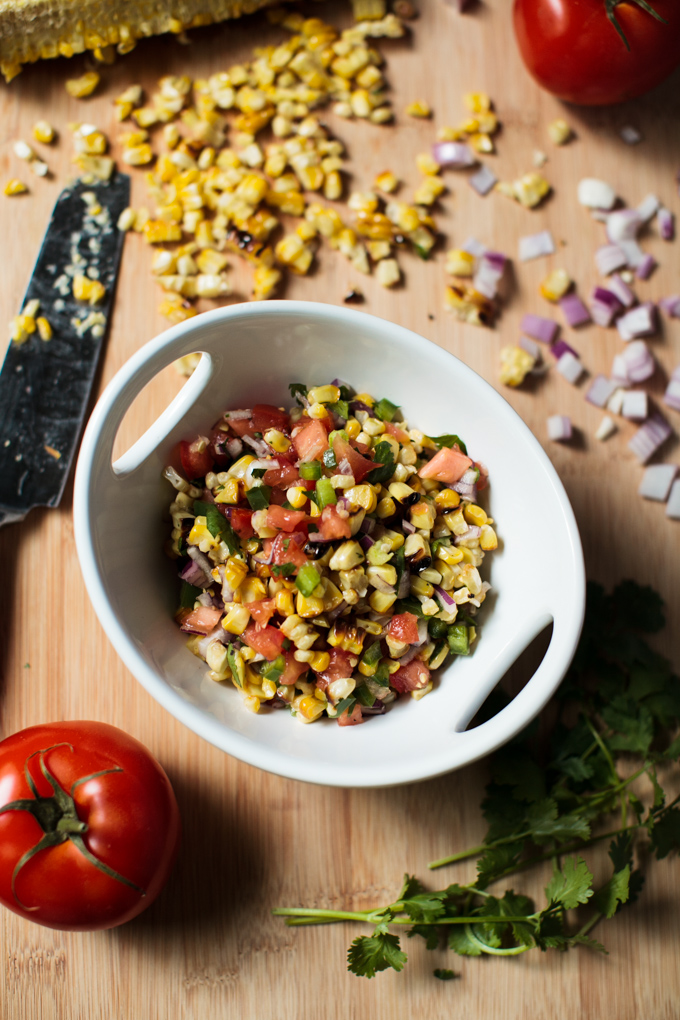
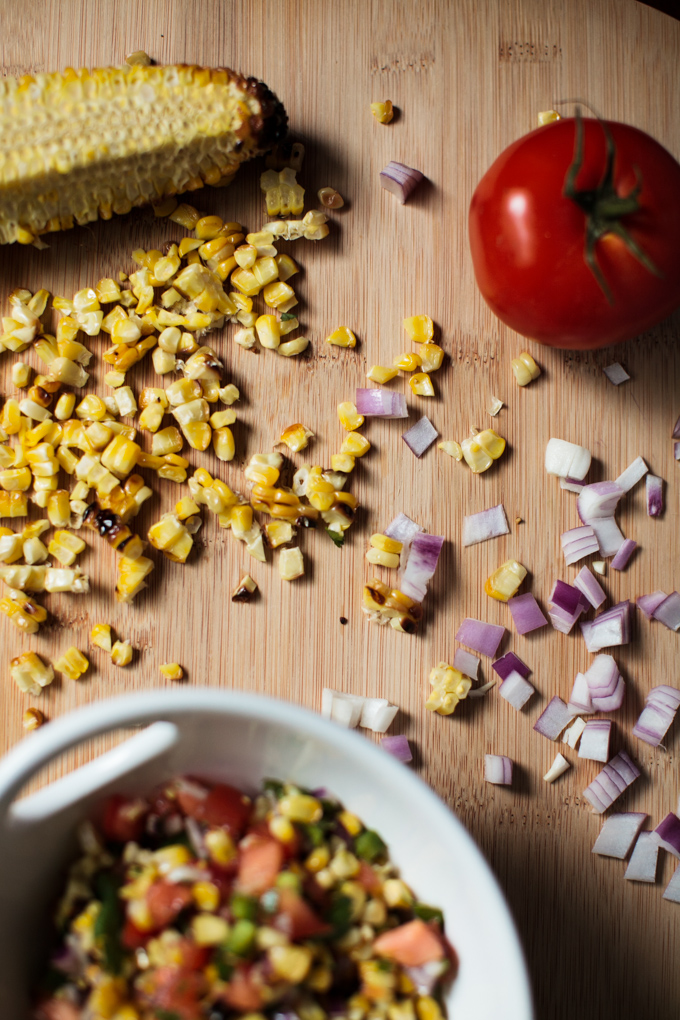
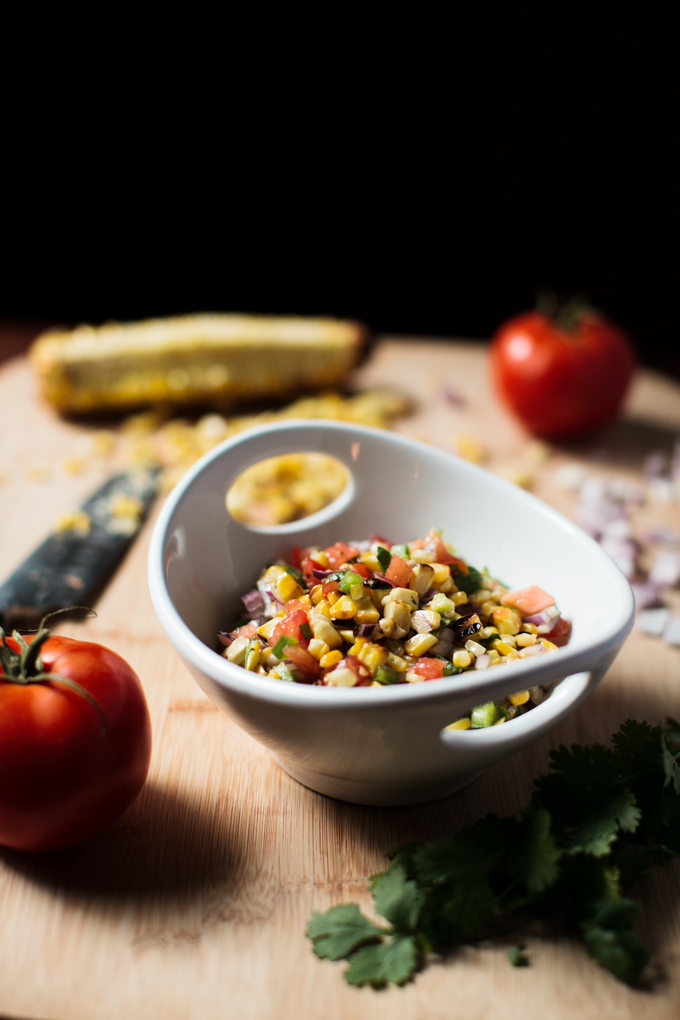
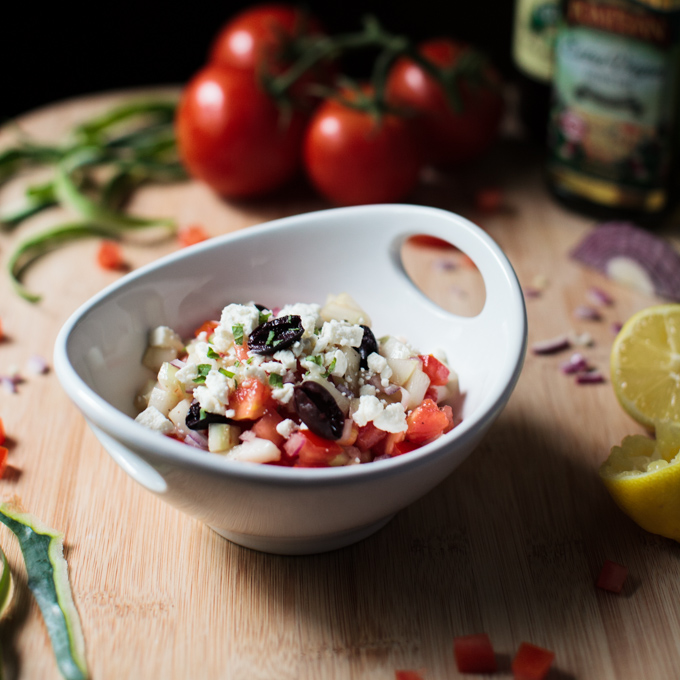
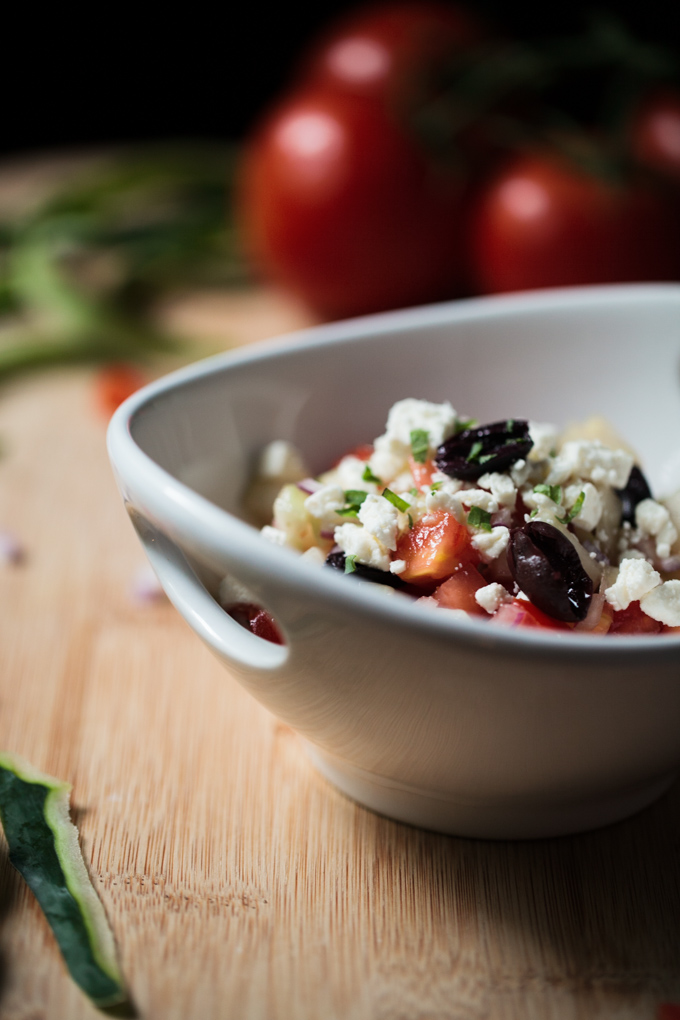
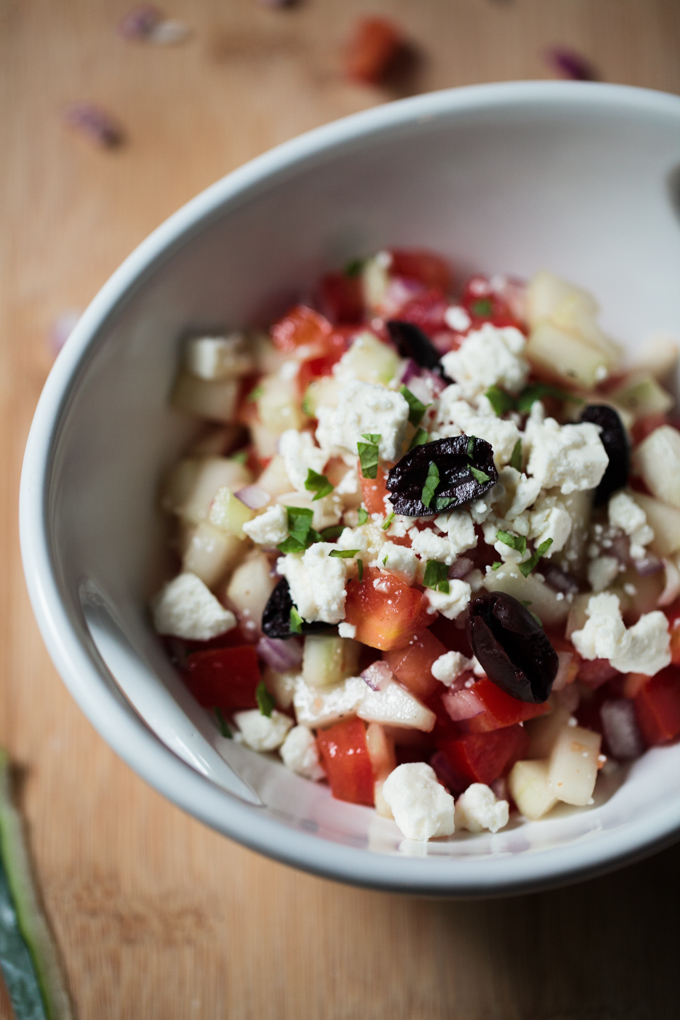
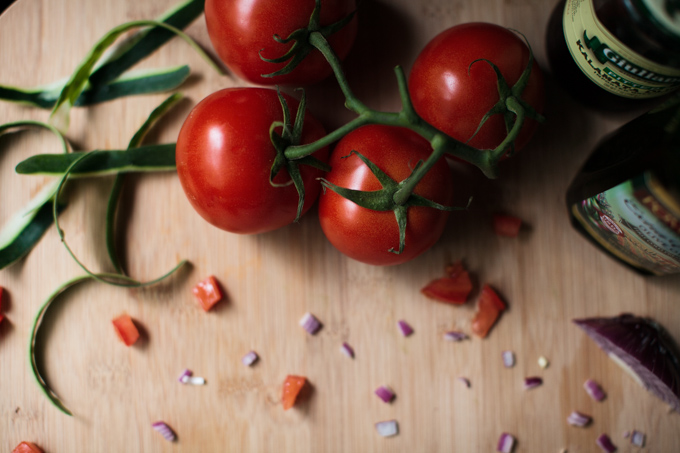
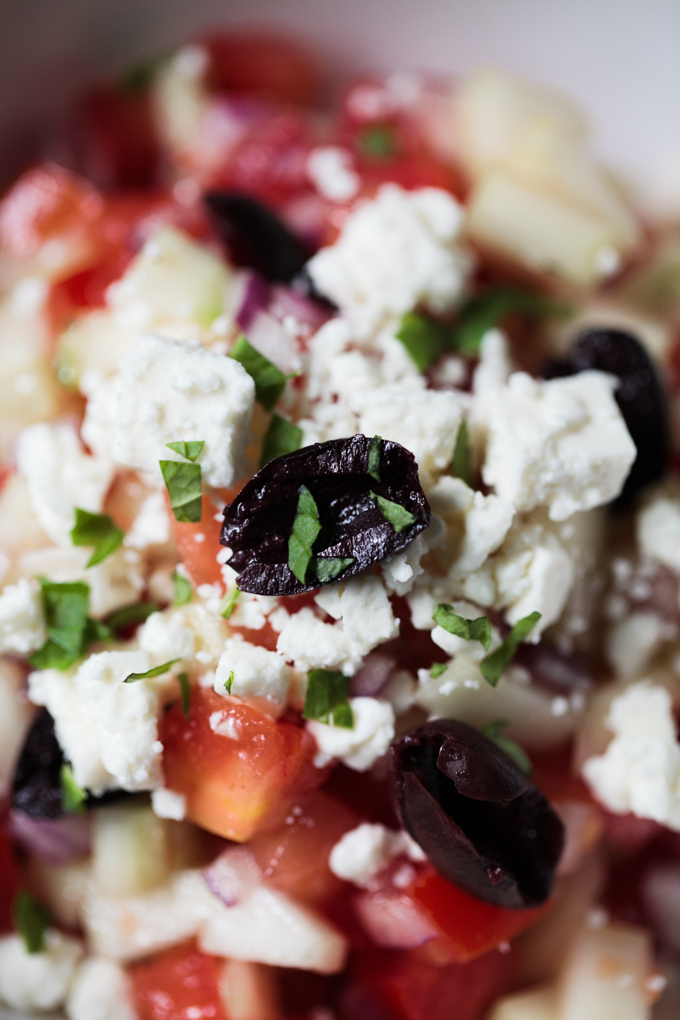
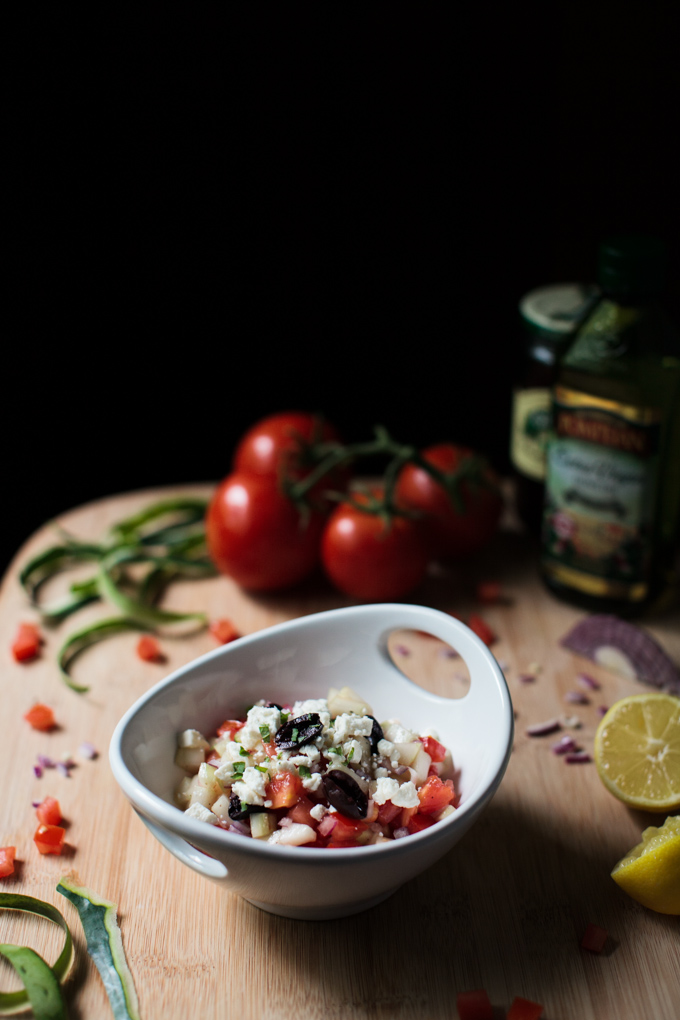
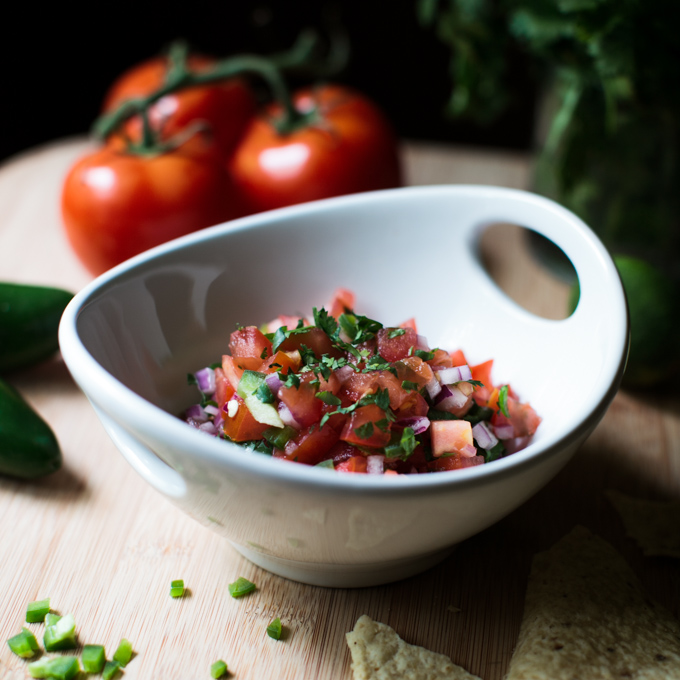
Speaking of summer. How about a perfect summertime recipe? The tomatoes in our garden are producing like crazy right now, so it’s the perfect excuse to make loads of pico de gallo, bruschetta, or caprese salad.

This-Wild-Season_Pico-de-Gallo-2 This-Wild-Season_Pico-de-Gallo-3 This-Wild-Season_Pico-de-Gallo-4 This-Wild-Season_Pico-de-Gallo-5 This-Wild-Season_Pico-de-Gallo-6

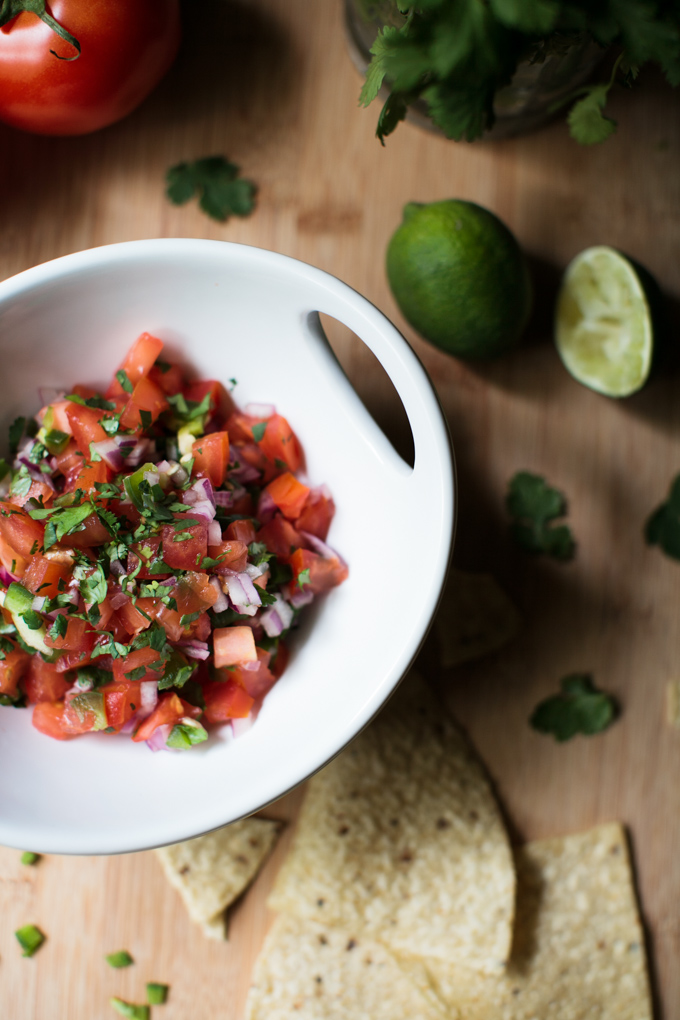
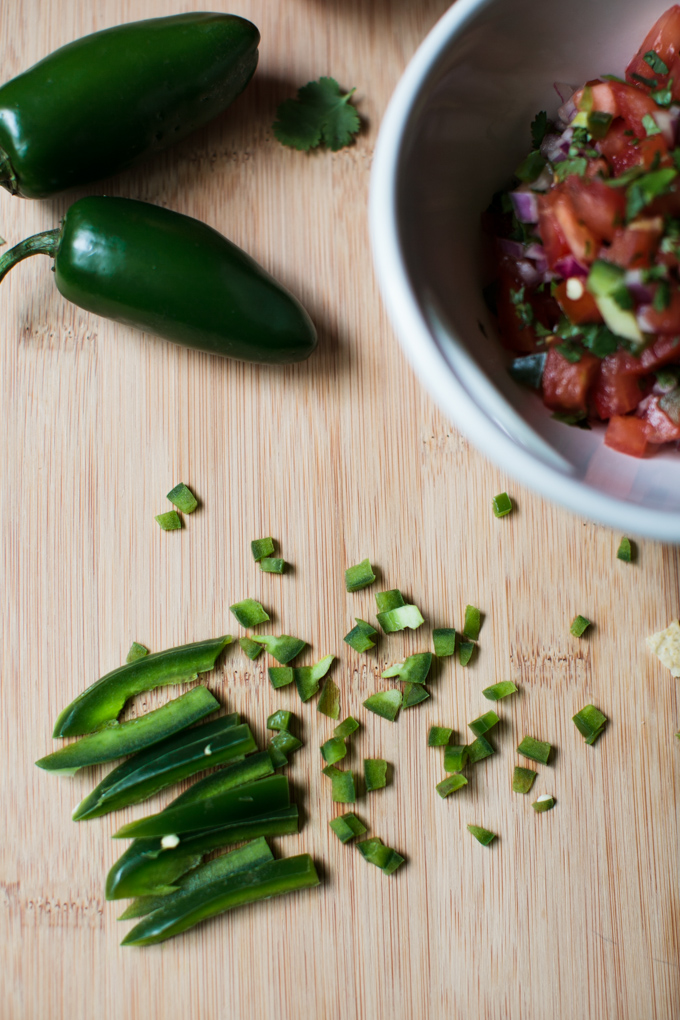
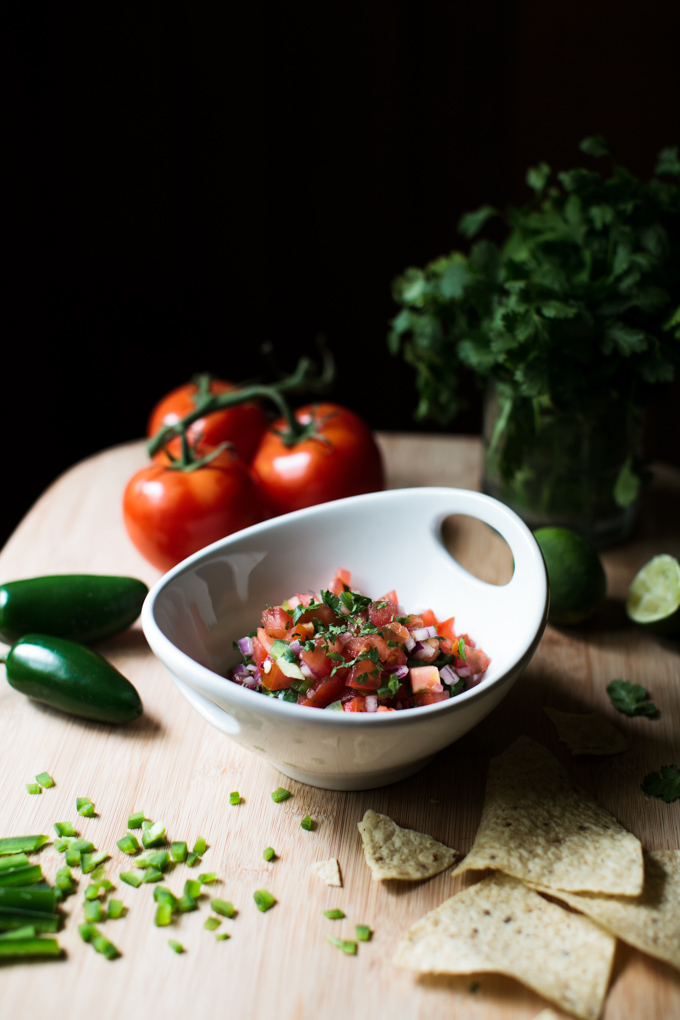
This recipe is really just a guideline (you know how I roll). You can add more or less of any ingredient to suit your preferences, and you’re welcome to leave out the jalapeño entirely if you don’t like spicy salsa.


Pico de Gallo

Asharae Kroll
Print Recipe Pin Recipe

Ingredients
  

  • 3 medium tomatoes
  • 1/4 or a red onion
  • 1 jalapeño diced (seeds removed for mild or with some seeds to add heat)
  • Handful of cilantro leaves finely chopped
  • Juice of 1 lime
  • 1/8 tsp kosher salt
  • Dash of pepper
  • Dash of garlic powder

Instructions
 

  • Toss all ingredients in a bowl.
  • Let rest in the fridge or at room temperature for at least 15 minutes (more if you can stand to wait) to let the flavors get happy.
  • Enjoy with chips, on tacos or quesadillas, over eggs, or straight out of the bowl.


Filed Under: Appetizer, Side Dish Tagged With: easy recipe, easy side dish, mid-week inspiration, salsa, simple recipe, vegetarian

Roasted Corn Salsa, Two Ways

July 25, 2014 by Asharae 2 Comments

This summer I was determined to find the perfect roasted corn salsa recipe. And, my friends, I thought I’d done it. I photographed this fabulous salsa recipe, was all excited to share it with you, and then a few weeks later – I tried another corn salsa recipe. And it was better. Way better in my opinion. So much better, in fact, that I figured I’d skip photographing it altogether and just share both recipes with you now! You can decide for yourself which one you like better – I determined that I prefer roasted bell peppers in my corn salsa instead of tomatoes. But if you’re a huge fan of tomatoes, you should probably test out both recipes. Just sayin’.

There are two different methods I’ll share for roasting corn, and they’re interchangeable depending on how much time you have, how much effort you’re willing to spend, and whether or not you have a grill. I prefer the slightly smoky flavor the grill gives the corn, but if you’re short on energy and/or a grill, feel free to roast those bad boys in the oven.

Roasted-Corn-Salsa_This-Wild-Season-2 Roasted-Corn-Salsa_This-Wild-Season-3 Roasted-Corn-Salsa_This-Wild-Season-4 Roasted-Corn-Salsa_This-Wild-Season-5 Roasted-Corn-Salsa_This-Wild-Season-6 Roasted-Corn-Salsa_This-Wild-Season-7

Roasted Corn Salsa, With Tomatoes

Adapted from Minimalist Baker
Print Recipe Pin Recipe
Prep Time 20 mins
Cook Time 20 mins
Total Time 40 mins
Servings 3 -4

Ingredients
  

  • 4 ears of corn shucked and silks removed
  • Olive oil
  • 1/4 of a red onion finely diced
  • 2 medium tomatoes seeded and diced
  • 1 jalapeño seeded and diced (I leave a few seeds to give the salsa a little heat)
  • Handful of cilantro finely chopped
  • Juice of 1-2 limes
  • Salt and Pepper to taste

Instructions
 

  • Place corn on a rimmed baking sheet that is lined with tin foil (for easier cleanup). Drizzle with olive oil and salt and pepper. Broil in the oven 15-20 minutes, or until corn kernels begin to char. Check every few minutes and use a set of tongs to turn the ears of corn as needed. Remove from the oven and let cool. Use a knife to carefully cut the kernels away from the cob. I like to stand each ear up on its end in a large bowl, I hold onto the top of the ear of corn, and use a knife to slice the kernels away - that way my fingers are safe and the kernels fall into the bowl, rather than fly all over the counter.
  • Combine the rest of the ingredients and let rest for 30 minutes or so in the fridge for the flavors to combine.

Roasted Corn Salsa, With Roasted Bell Peppers

Adapted from Simply Scratch
Print Recipe Pin Recipe

Ingredients
  

  • 4 Ears of corn shucked and silks removed
  • Olive oil
  • 1/2 orange bell pepper seeds removed
  • 1/2 red bell pepper seeds removed
  • 1/4 cup red onion finely diced
  • 1/4 cup fresh cilantro chopped
  • 1 Tbs pickled or fresh jalapeño diced (optional)
  • Juice of 1 lime
  • 1/2 tsp Kosher salt plus more to taste

Instructions
 

  • Brush each ear of corn and bell pepper half with olive oil and heat on the grill, turning occasionally until the kernels are charred to your liking and the bell pepper skins are charred as well. Remove from the grill and let cool. Carefully cut the kernels away from each ear of corn (see note on previous recipe for a helpful way to do that).
  • Use your fingers to peel the charred skin off each bell pepper (it doesn't have to be perfect - I leave some blackened bits for color). Dice the roasted bell peppers and combine with the rest of the ingredients.
  • Let the salsa rest in the fridge for 30 min or so for the flavors to get happy.


Filed Under: Appetizer, Side Dish Tagged With: roasted vegetables, salsa, tacos

Cucumber and Tomato Salad

July 21, 2014 by Asharae 1 Comment

Last week when I shared a recipe for tzatziki, I promised it would soon be followed with this cucumber and tomato salad recipe. One of my favorite meals includes naan, tzatziki, one of a few variations of spicy chicken (like this recipe), and this tomato and cucumber salad.

I prefer tearing off a piece of naan and scooping up all the flavors into one big bite. Somehow it’s more satisfying than using a fork. It almost feels like finger painting – you remember the one day in kindergarten when you were allowed to make a mess, it was okay to have your hands completely covered in paint, the colors oozing between your fingers as you balled up your little fist, trying to make that squelchy noise we all took so much joy in.

That’s what this meal is to me. It’s getting familiar with your food, being okay with the tomato and cucumber bits that fall off the naan, back onto your plate. Or sometimes they miss your plate and tumble onto the floor where the dog happily cleans up your mess. You may end up with tomato juice running through your fingers and down your arm, but it won’t matter. What matters is that you’re enjoying good food with the people you love. And the people you love don’t care if you make a mess and have red wine vinegar dribbling down your chin.

Let’s all get out the finger paint and make a mess, shall we?

Cucumber-and-Tomato-Salad_This-Wild-Season-2 Cucumber-and-Tomato-Salad_This-Wild-Season-3 Cucumber-and-Tomato-Salad_This-Wild-Season-4 Cucumber-and-Tomato-Salad_This-Wild-Season-5 Cucumber-and-Tomato-Salad_This-Wild-Season-6

Cucumber and Tomato Salad

Print Recipe Pin Recipe

Ingredients
  

  • 1 cucumber peeled, seeded, and diced
  • 3-4 medium tomatoes diced (I prefer to remove the seeds as well)
  • 1/4 c red onion finely chopped
  • 1.5 Tbs red wine vinegar
  • 1 Tbs lemon juice
  • 1 Tbs olive oil
  • 1 tsp honey
  • 1/4 tsp salt
  • 1/8 tsp pepper
  • Feta mint, and kalamata olives for serving (optional)

Instructions
 

  • Whisk together red wine vinegar, lemon juice, olive oil, honey, salt and pepper.
  • Combine with the rest of the ingredients and place in fridge till ready to serve.
  • (Optional) Top with feta, mint, and kalamata olives right before serving.


Filed Under: Appetizer, Side Dish Tagged With: cucumber, easy recipe, easy side dish, shared meals, simple recipe, tomato, vegetarian

Basic Bread Recipe for Bread Machine

March 12, 2014 by Asharae 9 Comments

Hunger is the most basic of needs. We all feel hungry at some point. Some more often than others. Some with more intensity than others. We hunger for food, for relationship, for stability, for safety, and for peace in our lives. I lived in Costa Rica for a summer, and my host mom there would always pray before meals “Danos hambre y sed para tí Dios” – Give us hunger and thirst for you Lord. She’d pray, not just thanking Him that our everyday need of hunger was satisfied and our thirst satiated, but asking Him for more feelings of hunger and thirst. This has stuck with me for years. A need, not just for food, but a need for the Lord. That’s exactly what it should be and what it becomes if you let it – a hunger and thirst for the Lord – the most basic of needs. He is our most basic of needs. He is present with us, and we need Him every day.

This blog is an outpouring of many things – my heart mostly, my desire to bring friends and family together with food, my love for deep conversation shared over drinks and dessert, and my longing to cultivate a home that is warm and welcoming, where people feel comfortable to simply be themselves. One of the chief goals I have in creating this blog though, is not just to be an excuse to make and eat good food, but also to use it as a way to provide for others who hunger. I am so privileged to have food in my pantry and filling up my fridge, but not all are quite so blessed. It’s only fitting that what is shared here – the stories and the recipes surrounding community and joining around the table – benefit not just my little community in my own home, but the community beyond my four walls.

I know that blogs can take a while to get going, to get followers, advertising, and sponsors to the point where they turn any kind of profit, but my goal is that once we’re to that point, we’ll donate a portion of what we make to provide for people who hunger – those who hunger for food, for shelter, for security, for the Lord. My thought right now is that each quarter we’ll choose a different non-profit to donate to, and we’ll highlight them here on our blog so you’ll be able to donate directly if you wish! So go ahead, share this blog with your friends! Follow us on Pinterest, Facebook, Twitter, and Instagram! Every bit helps!

Let me know if you’re familiar with any wonderful organizations that provide for those who hunger! I would love to compile a list of non-profits and such that we could potentially give to!

Since we’re talking about our most basic needs, I thought it was appropriate to share a recipe for the most basic of foods – bread! If the thought of making bread terrifies you, fear not! This is the EASIEST bread I have ever ventured to make. My goal is to learn how to make one of those round crusty artisan loaves that crunches when you break it open. Mmmmm. One day. For now we’ll settle for this bread, which is pretty darn delicious straight out of the oven. If you have a bread machine (or can borrow one from a friend – I’ve been “borrowing” my mom’s since Christmas) then you’re in luck! This recipe specifically calls to use the Dough setting on your bread machine, and then you can bake it in a well-greased 9×5 pan in the oven to get a beautiful loaf of bread! I’ve been making this at least twice a week for the past month or so and it always disappears quickly! It’s great for sandwiches, french toast, dipping in olive oil and spices (bonus if you add in the vinaigrette we made yesterday!) I’m sure this bread would be delicious with parmesan and garlic mixed into the dough – I’ll let you know how it turns out when I try it!

Fun fact: This bread made its internet debut in a styled shoot we did last month! Check out the featured post on The Lovely Find and the full story on our photography site!

Basic-Bread_This-Wild-Season-2 Basic-Bread_This-Wild-Season-4 Basic-Bread_This-Wild-Season-6 Basic-Bread_This-Wild-Season-7 Basic-Bread_This-Wild-Season-8 Basic-Bread_This-Wild-Season-9 Basic-Bread_This-Wild-Season-10 Basic-Bread_This-Wild-Season-12 Basic-Bread_This-Wild-Season-13 Basic-Bread_This-Wild-Season-11 Basic-Bread_This-Wild-Season-14

Basic Bread Recipe for Bread Machine

Asharae Kroll
A super simple bread recipe for the bread machine.
Print Recipe Pin Recipe
Prep Time 2 hrs
Cook Time 25 mins
Total Time 2 hrs 25 mins
Course Bread

Ingredients
  

  • 1 cup warm water
  • 2 Tbs butter softened (or shortening for crispier bread)
  • 1 tsp salt
  • 2 Tbs honey or sugar
  • 2.5 cups bread flour
  • 1 packet yeast 2 1/4 tsp

Instructions
 

  • Place ingredients into bread machine in the order recommended by the manufacturer.
  • Mine recommends to put the water, salt, butter, and honey in first.
  • Add the flour on top of that.
  • Make a small well in the flour and add the yeast.
  • Adjust your bread machine to the Dough setting, 1.5lb loaf and let it run. I like to check on it about 5 minutes in to make sure it's not too wet or too dry. If it looks too wet and sticky, add a tablespoon or two of flour. If too dry and flaky-looking, add a tablespoon or two of water. Let the machine run through its whole cycle and try not to peek at it too much! (Bread machines heat up slightly which helps the rising process, each time you open it you let some of the heat out which can cause it to rise slower.)
  • Once the dough cycle is finished, turn dough out onto a floured surface. Gently press into a rectangle about 9-10 inches long (you can measure it along the side of your 9x5 pan). Fold one of the long sides in toward the center and fold the other long side on top of that - you're essentially folding it in thirds. Gently place the dough, seam side down, in your well-greased 9x5 pan. Use a knife to cut a small slit (about 1/4 inch deep) down the middle of the dough - this will allow it to expand.
  • Let the dough rise for 30 minutes or so until it looks good. If your house is colder, this could take up to an hour or more. I like to heat my oven for a few minutes, turn it off, and place the dough in for about 30 min to speed up the process. Whatever it looks like now is approximately the size it'll be when it's done baking. Toward the end of this final rising, preheat your oven to 375 degrees. (Take the bread out at this time if you used the oven to let it rise.)
  • Once dough is finished rising, bake for 25 minutes at 375.
  • Bread is finished when you tap it with your finger and it sounds hollow.


Filed Under: Appetizer, Side Dish Tagged With: bread, bread machine, simple recipe

  • « Previous Page
  • 1
  • 2

Hello there!

My name is Asharae. I’m a photographer by trade, wife to an amazing man, and mama to three little ones. I am passionate about creating good food, sharing meaningful conversation around the table, trying new things, and encouraging others to do the same.

Welcome to This Wild Season! This is a place for sharing what I’m learning in the kitchen and outside of it. Most of all, it is a challenge to myself and to you to slow down, be present in the moment, and re-learn how to savor food and conversation around the table.

About

Search

Connect

  • Facebook
  • Instagram
  • Pinterest
  • Twitter
  • Vimeo

Find my book on Amazon:

Recent Posts

  • Emmeline’s Birth Story, The Story of Her Name
  • Emmeline’s Birth Story, Birth Day Part 2
  • Emmeline’s Birth Story, Birth Day Part 1
  • Emmeline’s Birth Story, My Pregnancy
  • Emmeline’s Birth Story, An Introduction
Follow on Bloglovin
Visit This Wild Season's profile on Pinterest.

Copyright © 2025 · Foodie Child Theme by Shay Bocks · Built on the Genesis Framework · Powered by WordPress