This Wild Season

Sharing what I'm learning in the kitchen as well as outside of it.

Navigation
  • Home
  • Blog
  • Recipes
    • Appetizer
    • Breakfast/Brunch
    • Side Dish
    • Main Course
    • Dessert
    • Drinks
    • Personal
  • About

DIY Handlettering: A Behind the Scenes Look

November 30, 2016 by Asharae 2 Comments

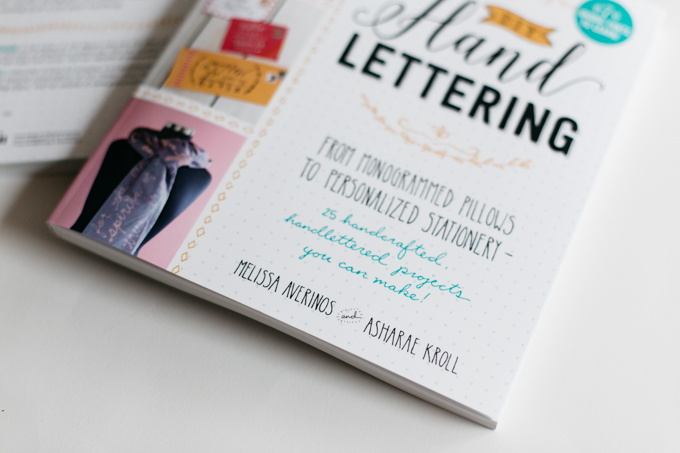
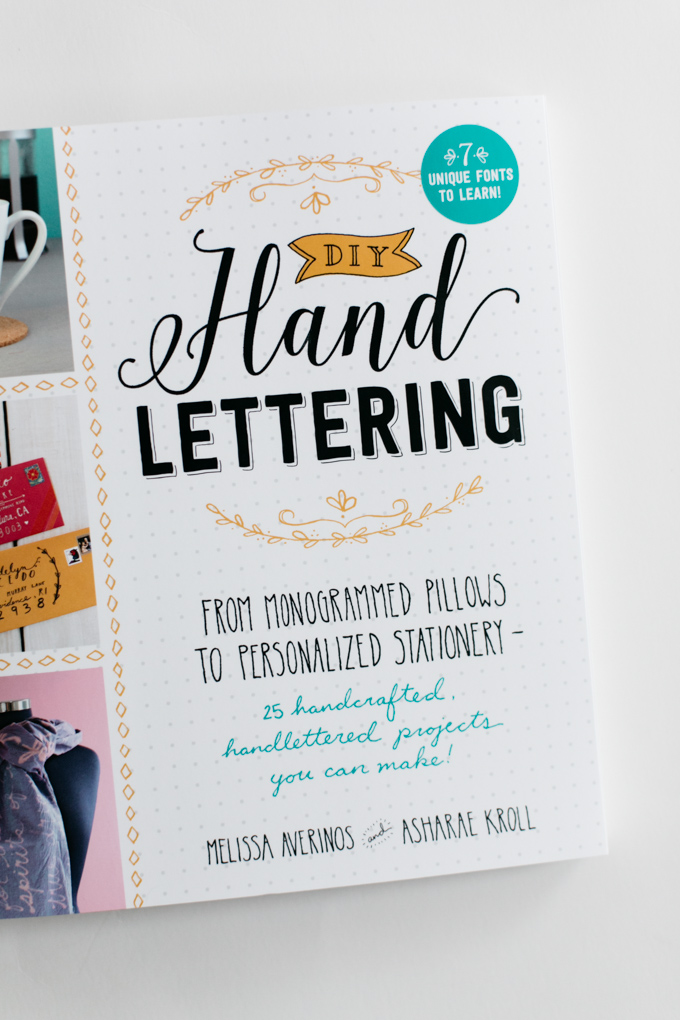
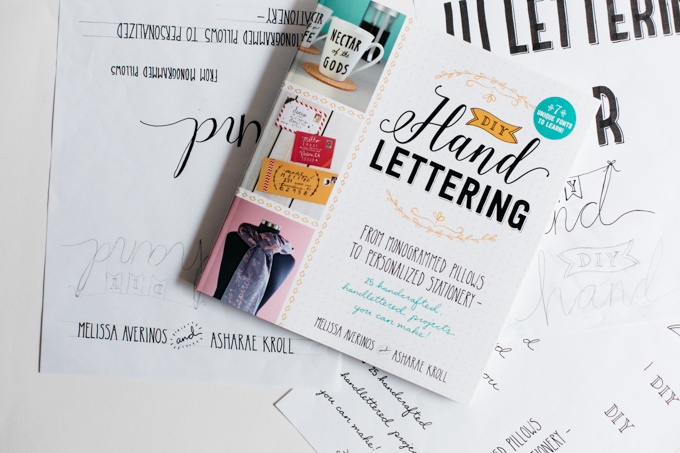
You guys. I wrote a book. Well, technically I co-authored a book alongside the fabulous Melissa Averinos. It’s totally surreal to see our names on the cover of a stack of books currently sitting in my office. Even weirder that I can recognize my handwriting all over the covers of said books.

diy-handlettering-3

Rewind. About two years ago I got an email from a lady at Adams Media, a publishing company based in Massachusetts. She asked if I’d be interested in co-authoring a handlettering book as an “artist author” who would create all the lettering styles for the book. Obviously I said yes.

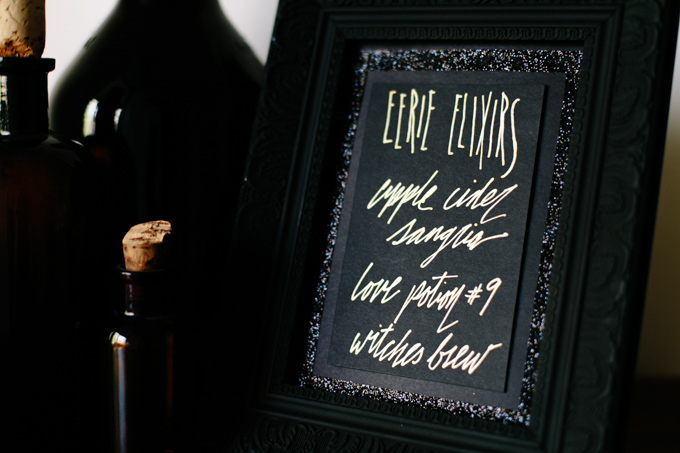
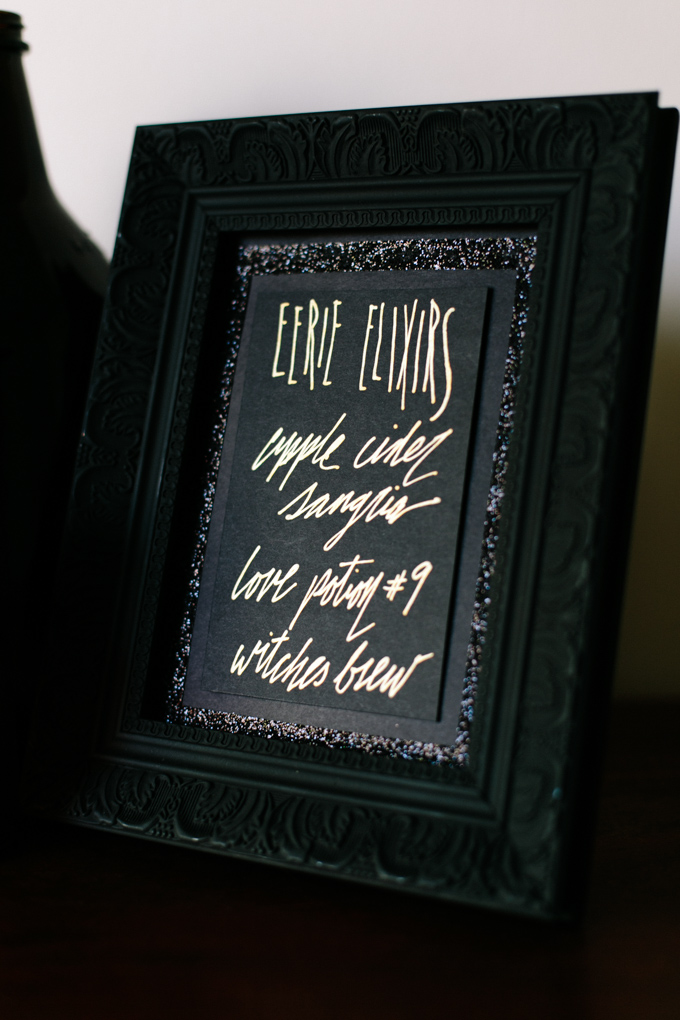
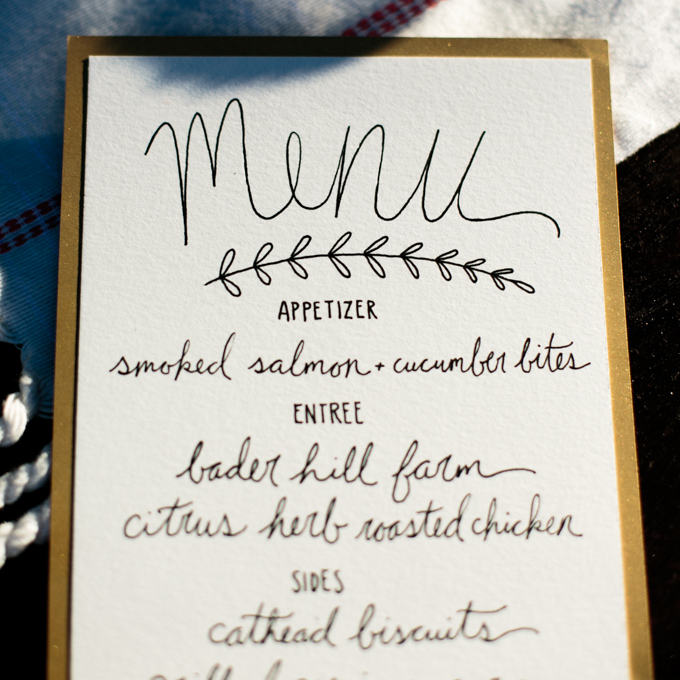
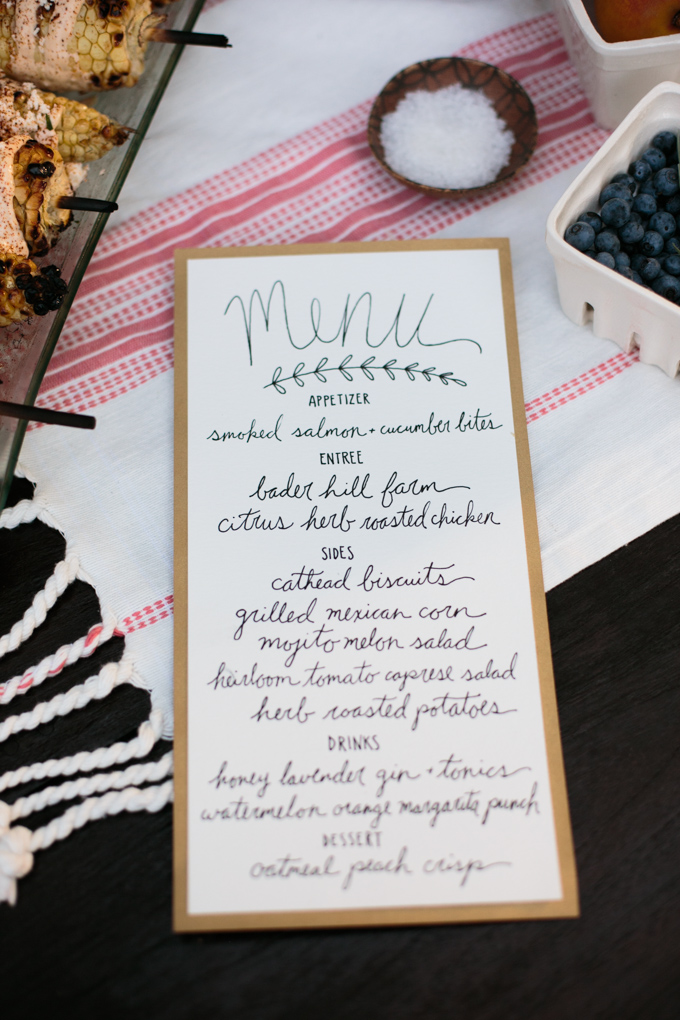
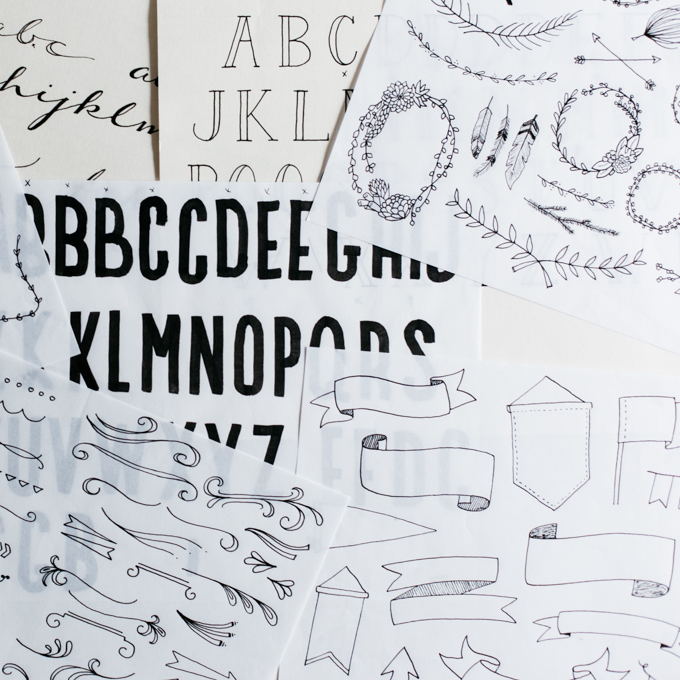
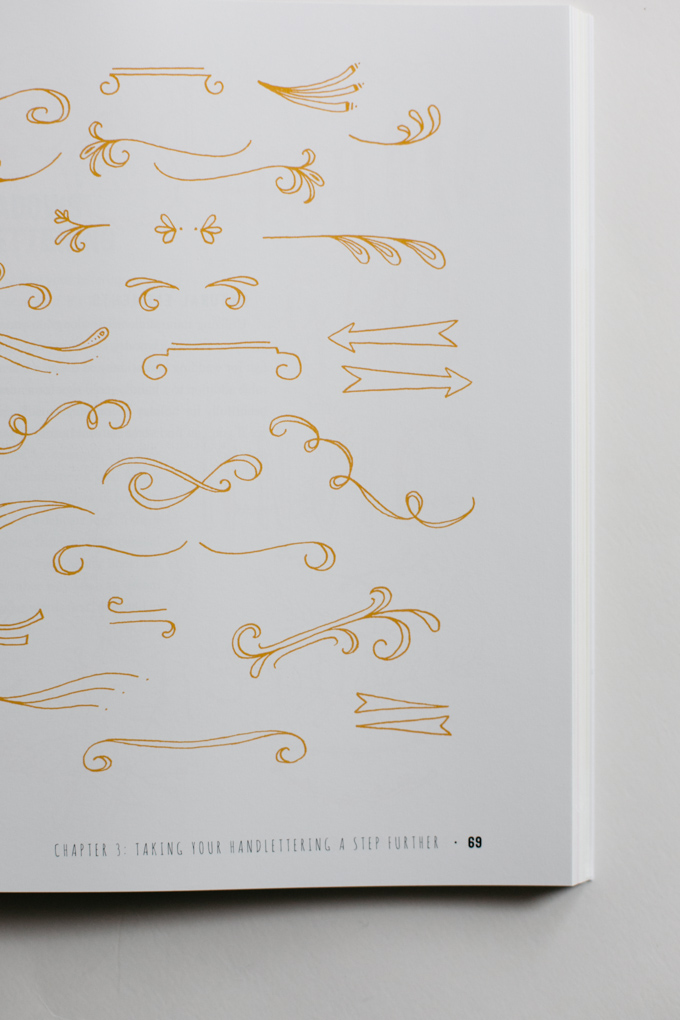
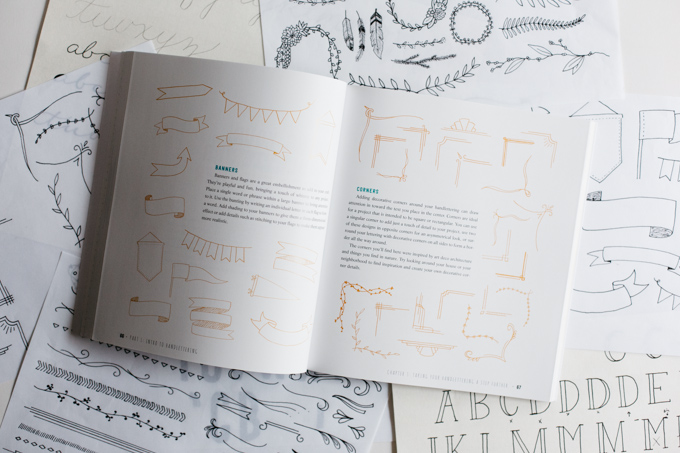
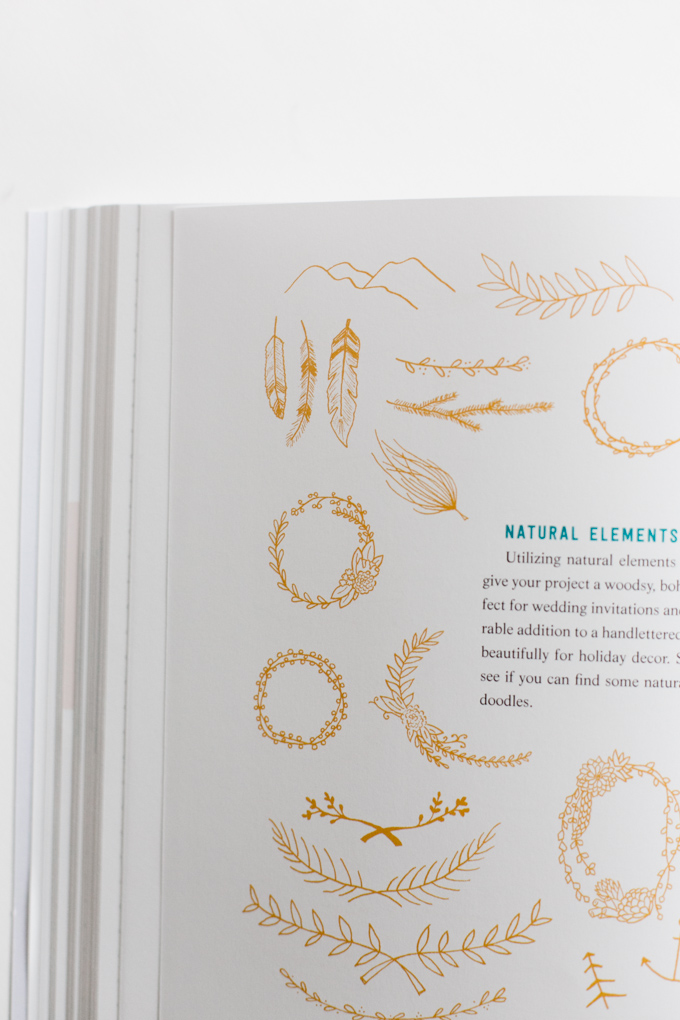
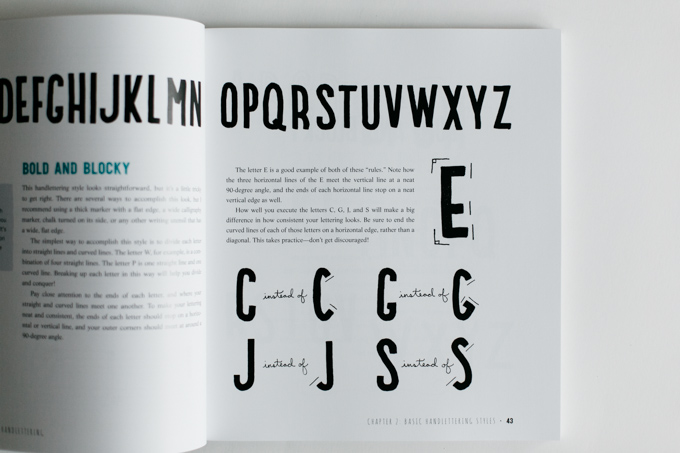
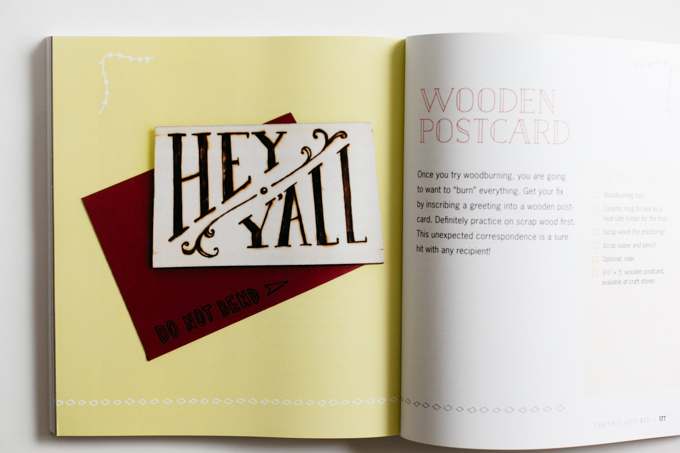
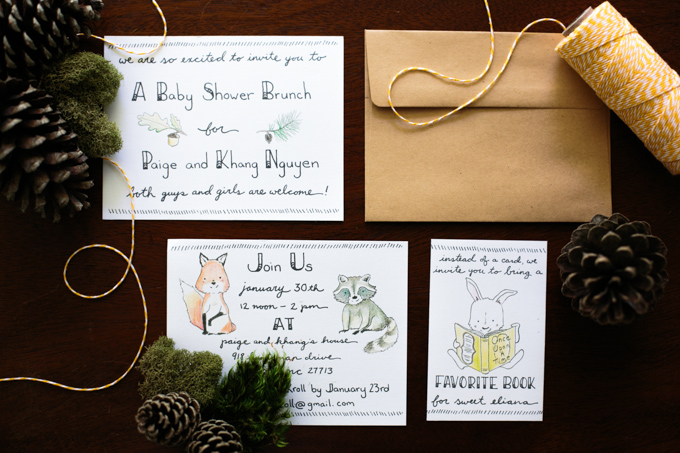
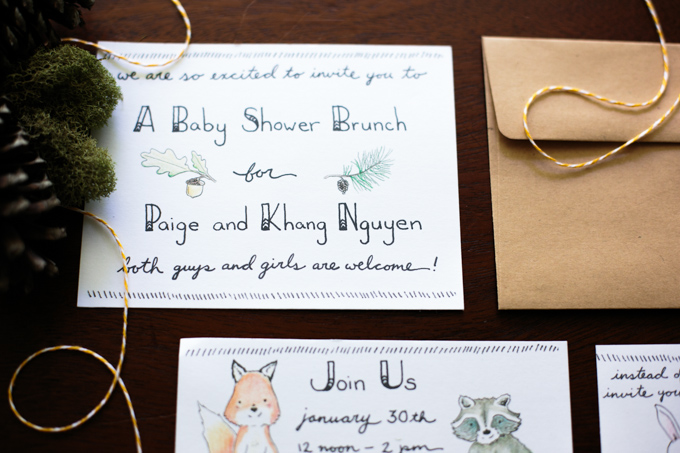
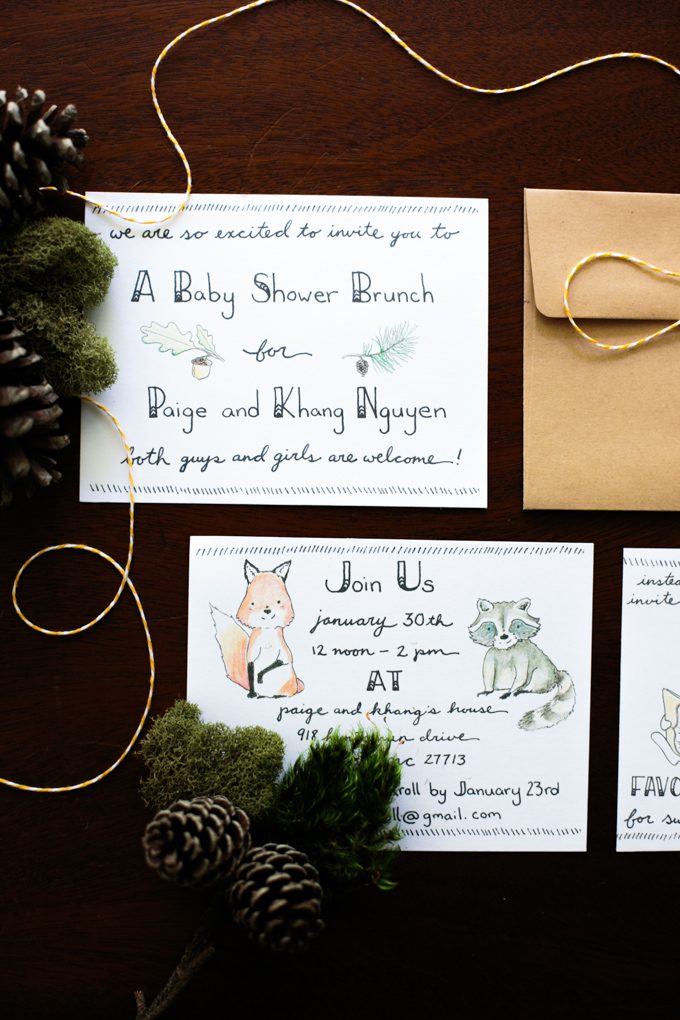
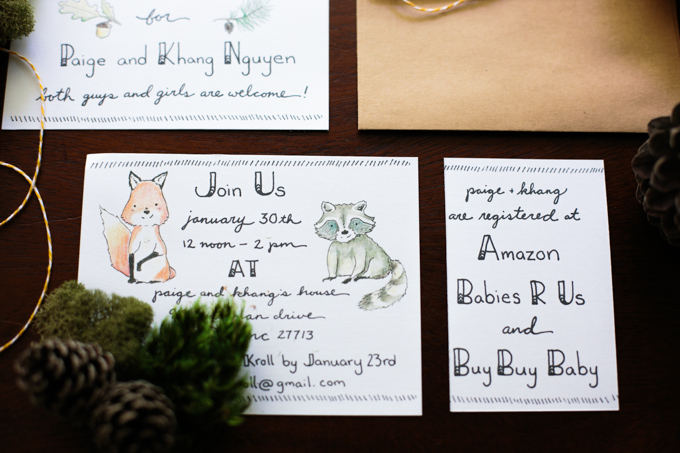
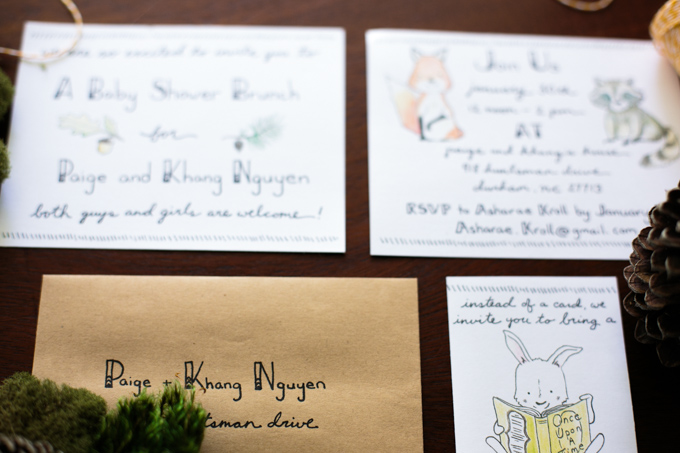
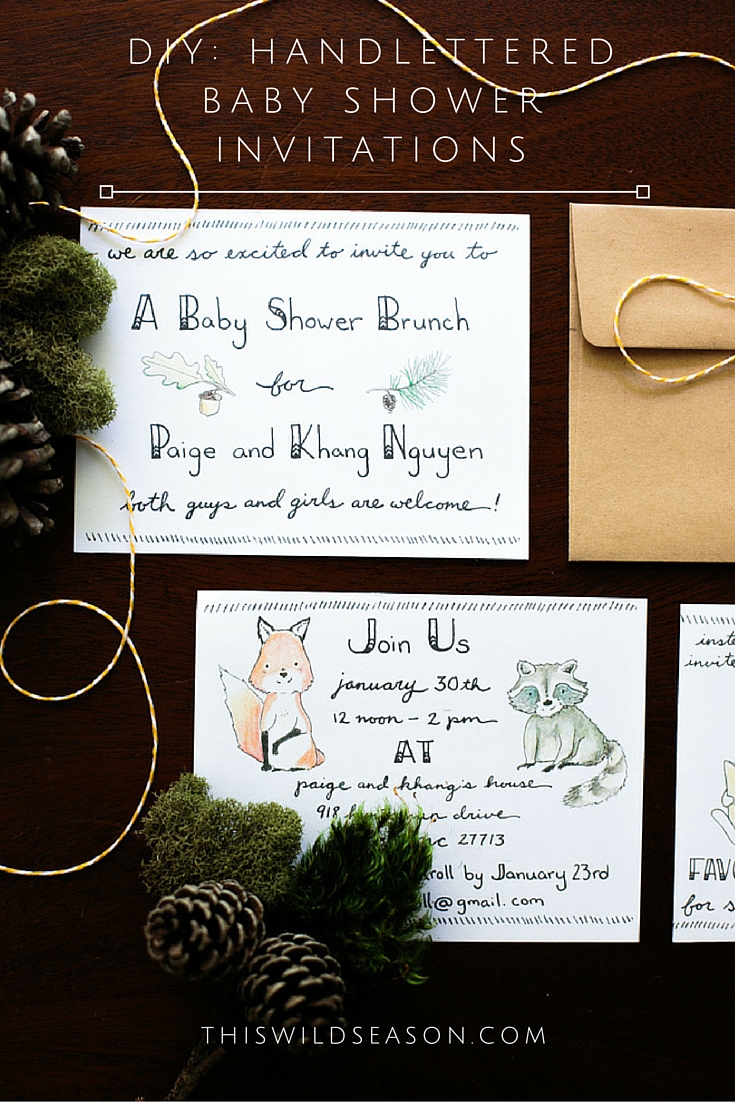
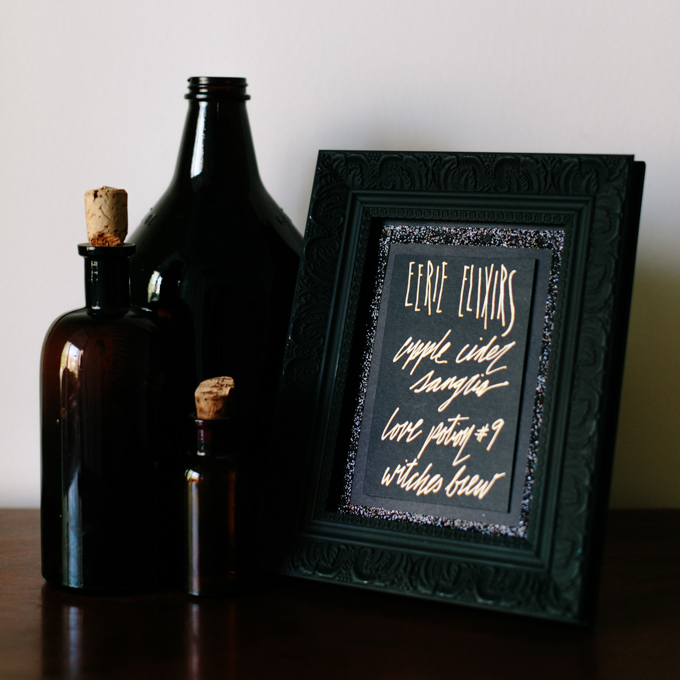
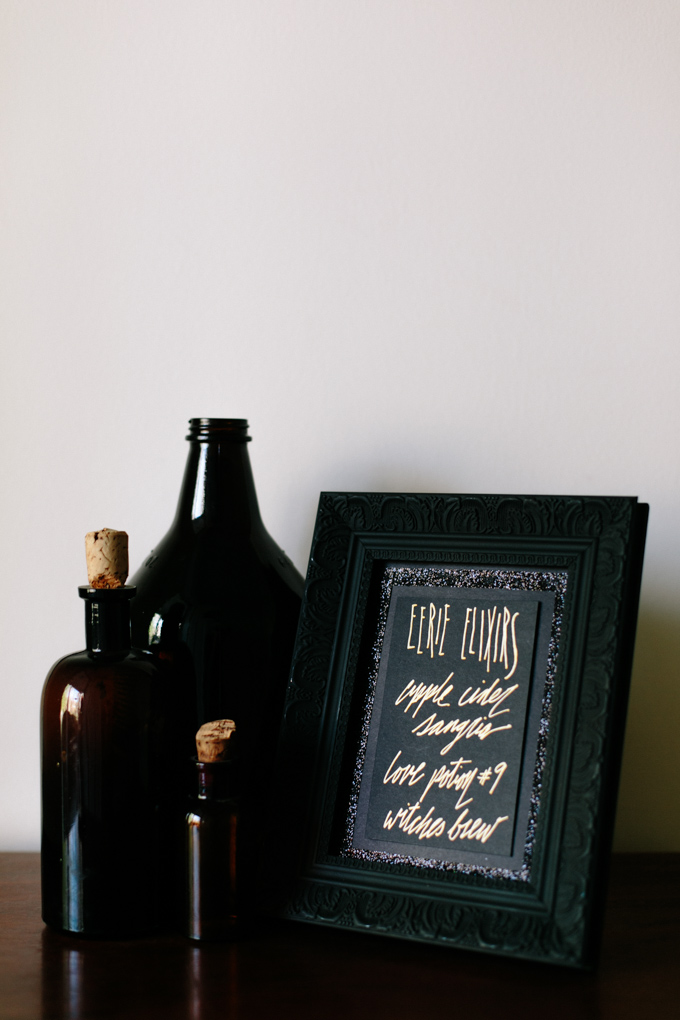
I had a great time creating different lettering styles and the variations on each one to give our readers some inspiration to take each style and make it their own. I decided we needed a little something extra for the book, so I created several pages of doodles, flourishes, banners, and floral wreaths, and wrote the instructions to go along with the lettering styles and the doodles. My co-author Melissa is the “craft author” and she took the styles and doodles I created and made a ton of crafts with them – she’s a crafting genius.

diy-handlettering-4 diy-handlettering-5 diy-handlettering-7 diy-handlettering-9 diy-handlettering-15 diy-handlettering-11

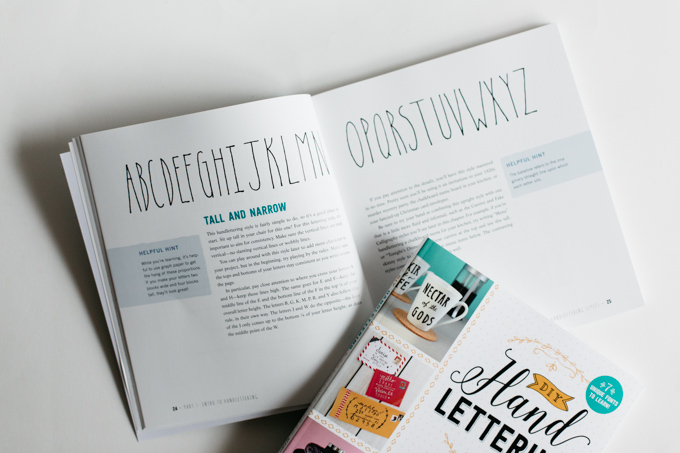
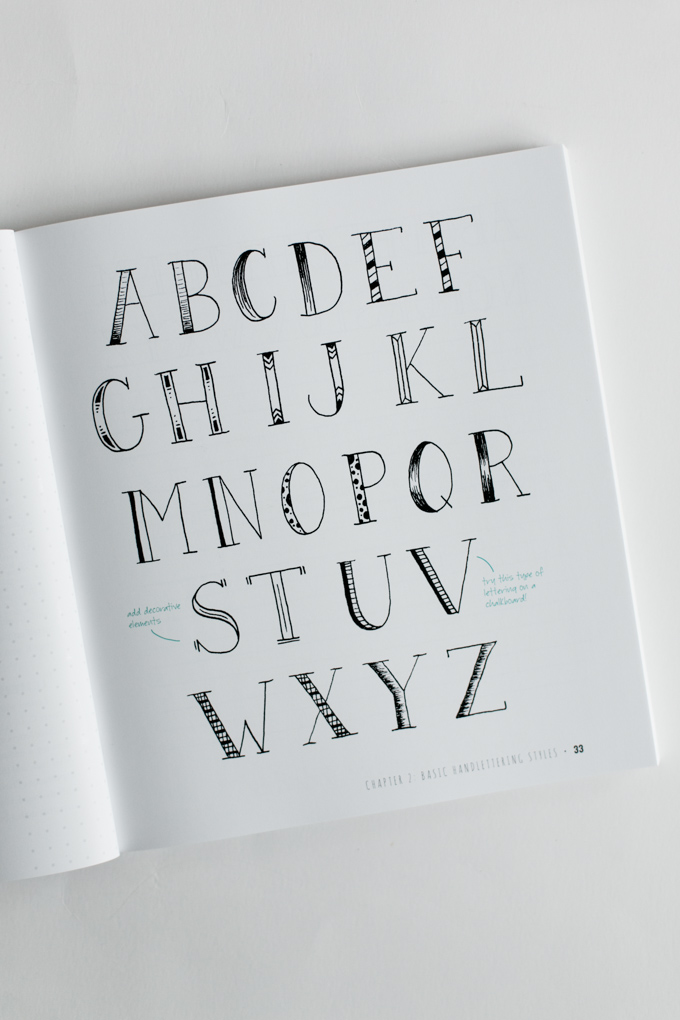
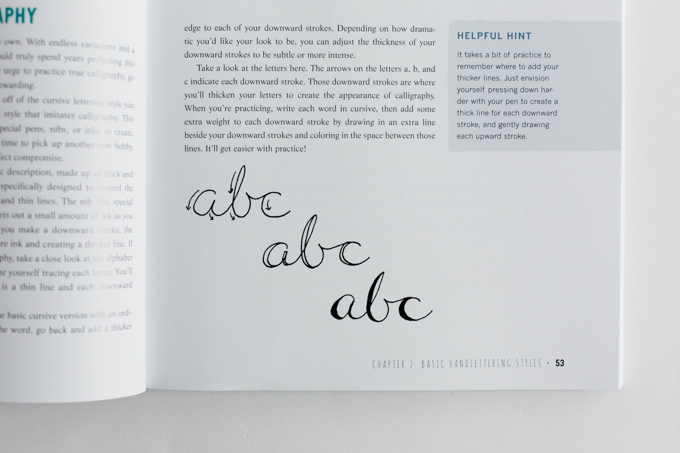
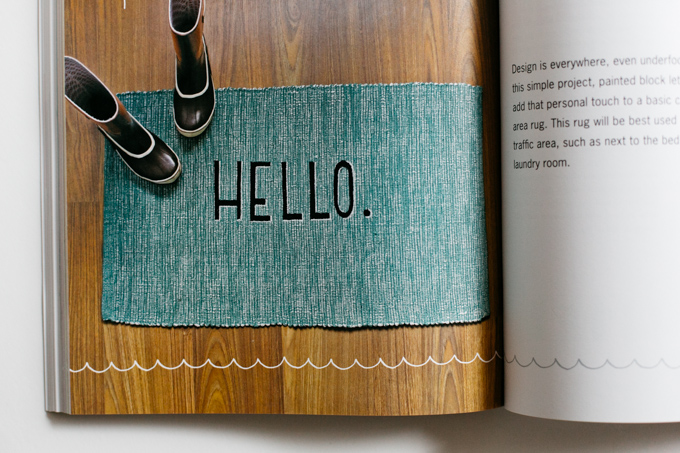
The book turned out to be a great mix of craft projects and inspiration to take what you see and make it your own. My hope is that you see the handlettering styles I’ve created and put your own spin on them, experiment and add your own personality, and end up creating something entirely your own.

I would be absolutely delighted if you guys bought my book! Buy it for yourself, for your grandma, for your roommate, for your coffee table, or even for your dog. Christmas is just around the corner after all!

You can buy DIY Handlettering over here on Amazon!

(That’s an affiliate link ya’ll! That means if you click on it and make any purchase through Amazon, I make a small commission off your order, at no additional cost to you. Thanks for helping me keep food on the table here at This Wild Season!)

diy-handlettering-2

The entire process of seeing a book from idea to print was a lot of fun.  It’s funny to have a lot of the publishing process demystified in a way. The company that published our book does things quite a bit differently from other companies in that they seek out authors to write about topics that are popular in the moment. I confess I thought it was a scam when I first got the email! I’d never heard of a company that does things like Adams Media.

diy-handlettering-13 diy-handlettering-10

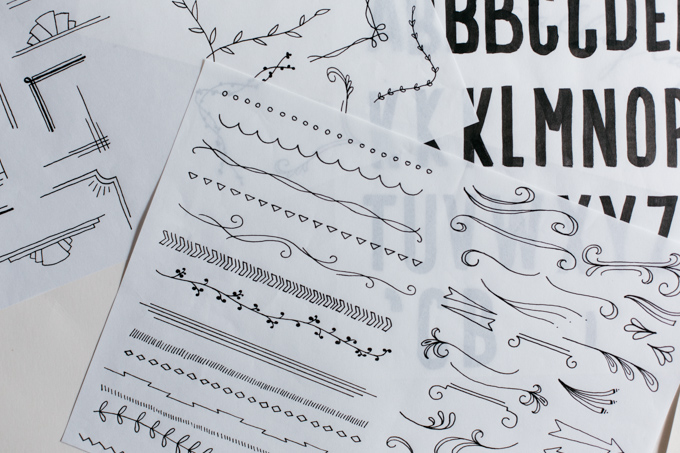
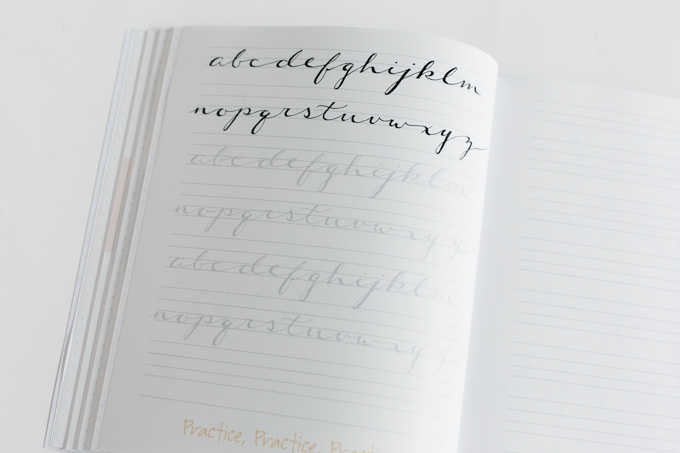
I truly learned a ton through the whole process. It was great to have the creative freedom to create additional lettering styles and fun embellishments for our readers to incorporate into their projects. And it was such a sweet surprise to see my doodles incorporated throughout the book as well! Toward the end of last year when we submitted our final draft, it just looked like a strangely formatted Word document. It was hard to imagine how it would turn out in the end. A couple months passed and we finally got to see what they’d done with all our hard work. Overall they designed it beautifully – and even the practice pages were a sweet surprise we weren’t expecting!

diy-handlettering-6 diy-handlettering-8 diy-handlettering-14

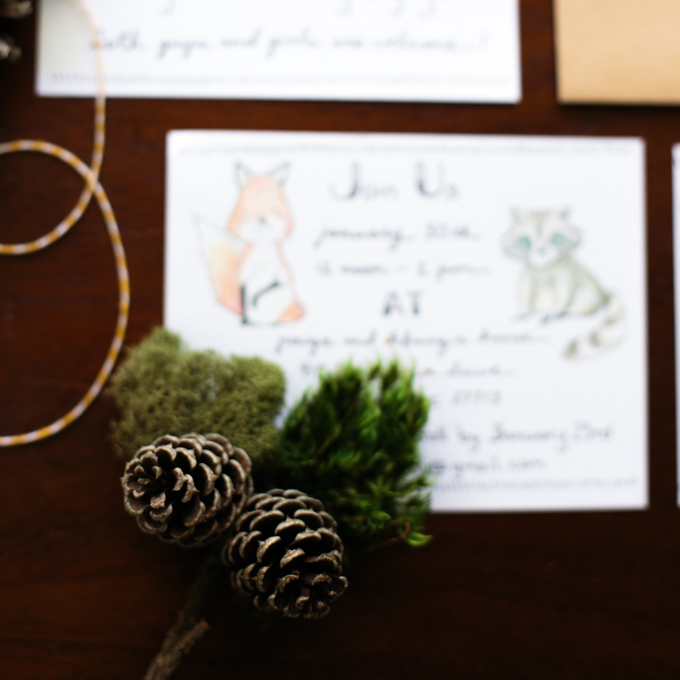
It’s so fun to look at it now and think back to all the hard work that went into it. Some of the nature doodles were inspired by our trip to Oregon last summer, scribbled in my notebook while we sat on the cliffs overlooking Cannon Beach. I remember sitting in the Seattle airport, typing away on my laptop to make one of our deadlines before our red-eye flight that night. Other styles I created while sitting on the floor in our family room, a football game or something else on in the background. A few lettering styles I created didn’t make it into the book, and others took their place instead. And the cover – oh the cover. We had some discussions about that one. But for now we’ll just file it away in the “you live and you learn” folder.

diy-handlettering-16

I loved working with my co-author Melissa. She’s written a couple books with Adams before, so even though we never met in person, I felt like she was guiding me along through the process, letting me know how everything works. We’d text each other late at night – ack! Have you met the latest deadline? How are the crafts going? What do you think of this lettering style? It’s so wild to create a book with someone even though hundreds of miles separate us. Oh technology.

diy-handlettering-12

The sweet part of all of this is that writing this book has opened up some incredible new opportunities for me. Since the book came out I’ve started teaching handlettering classes locally with SkillPop here in Charlotte. It’s an amazing start-up that is providing awesome in-person classes on a whole range of topics. If you’re local to Charlotte or Raleigh be sure to sign up for the newsletter and check out all the classes that are currently offered. Handlettering always sells out, so you’ve got to be quick to sign up if you’re interested in taking one of the classes!

And now, congratulations if you made it to the bottom of this post! Be sure to check out my Instagram page for an opportunity to win two signed copies of my book – one for you and one for a friend!

Filed Under: DIY, Personal Tagged With: author, book, DIY Handlettering, personal

DIY: Handlettered Woodland Themed Baby Shower Invitations

May 6, 2016 by Asharae Leave a Comment

Last weekend our friends put on the most wonderful baby shower for our sweet little one! Four of my college roommates traveled from all over the Carolinas and one even flew in from Chicago for the occasion. They stayed with us throughout the weekend and helped my friends Paige and Christy decorate our home and make delicious food.

Knowing our love for travel, Paige chose a vintage travel theme for our shower and Christy helped put together a menu of foods from all over the world. I wanted nothing more out of our shower than to have a bunch of my favorite people in our home, eating delicious food, and enjoying themselves. It was really important to me that both guys and girls (and kiddos) felt welcome and that no one felt like they were at a stuffy, uptight baby shower. It turned out to be truly perfect!

We are still feeling so overwhelmed by all the love and support we felt last weekend and have no doubt that Baby Kroll will be well-loved by our sweet friends.

Since we’re all a-flutter with baby showers over here, I wanted to share these woodland themed invitations I created for my friend Paige back in January. My talented husband used watercolor and ink for the woodland animals and greenery, and I handlettered the rest.

DIY Baby Shower Invitations by This Wild Season -2

If you’d like to create your own reproducible baby shower invitations you just need a few things! (Disclaimer: I have included a few affiliate links to my favorite products below! That means I make a small commission off any purchase you make through that link, at no additional cost to you. Thanks for your support of This Wild Season!)

  • Pencil, pens, and paper (tracing paper and watercolors optional)
  • A printer and scanner
  • Editing software such as Photoshop (you can get a free 30 day trial through Adobe)
  • 8.5 x 11 cardstock for printing
  • Envelopes (I used these for this project)
  • Optional – paper cutter
  • Optional – my book! If you want to recreate these specific handlettering styles, you can find instructions for them (and many others) in my book DIY Handlettering.

DIY Baby Shower Invitations by This Wild Season -3

1. Sketch out your designs with pencil and paper till you’re happy with the way they look. Think about the size of paper you’ll be using for your invitations and take that into account. Since I printed these myself, I wanted to use a minimal amount of paper and make the least amount of cuts to it. I designed these to fit on a quarter sheet of regular 8.5 x 11 card stock, so my original design was 4.25 x 5.5 in. With this size, your invites will fit perfectly in A2 envelopes (I used these). For the inserts, I fit 8 on a page, so my original design was 2.75 x 4.25 in.

2. Once you’re happy with your design, finalize it with ink. These pens are my favorite at the moment. I also like to use tracing paper for this step because it makes it go much faster! (That link is to my favorite “translucent visual bond.” It works great for handlettering and even calligraphy nibs. I use it all the time!) I simply lay the tracing paper over my pencil designs and carefully copy them. This also allows me to make adjustments to the layout and design as I go along.

DIY Baby Shower Invitations by This Wild Season -4

3. Scan your designs into the computer using high resolution settings. I usually scan them as tiff files at 600 dpi. If you need to make additional adjustments, add cute little woodland creatures, or other doodles, bring your files into Photoshop and arrange them as necessary. I prefer to make separate layers for my lettering and doodles, erase the white backgrounds, and touch up any mistakes this way. (If you plan on just using Photoshop, you’ll want to make sure your Canvas Size is the same size that you want your final printable to be. You can either adjust as you go or create a new file that is the correct size and copy your cleaned-up files over.)

DIY Baby Shower Invitations by This Wild Season -5

4. Optional – if you have additional editing software, it can make this process even smoother. I like to use the Image Trace function in Adobe Illustrator to turn my lettering into vectors so they can be scaled up or down in size without losing detail. I then take those vectors into Adobe InDesign documents that I’ve created in the size I want my final printables to be. I actually do most of my layout and design in InDesign rather than Photoshop. If you don’t have these additional programs, you can create Photoshop files that are sized properly and save your files as jpegs for printing.

DIY Baby Shower Invitations by This Wild Season -6

5. Once you’ve got your finalized designs on your computer, you’ll want to create an 8.5 x 11 file (a program like Word or InDesign works for this) and insert your designs as you’ll want them to print. As I mentioned before, I did 4-to-a-page for the invitations and 8-to-a-page for the inserts. Sizing your invite and insert files properly in the first place will ensure these fit 4 and 8 to a page once you get to this step.

6. Print your invitations! Use card stock to print your invites and inserts at the best quality. It’s a good idea to try printing them on regular printer paper first, cut them to size, and make sure you’re happy with how they look before you commit to printing all of them! If you designed front-and-back invitations, you’ll need to figure out how your printer works to print on both sides properly. (I confess this can be the most frustrating part of the whole process, but it’s worth it in the end!)

DIY Baby Shower Invitations by This Wild Season -7

7. If you have a paper cutter, use it! I recommend getting one that has replaceable blades, like this one that I use. (That’s a good entry-level paper cutter. You can definitely spend more if you want something that’s more precise and heavy duty!) Cut all your invites and inserts to size.

8. Address your envelopes. You can get creative with these too! I chose to address all of the envelopes for Paige’s shower in the same style I used for her invites. It adds an extra layer of personality and your guests start to get a feel for the party before they even open the invitation!

9. Finish the invites. If you want to go above and beyond, you can incorporate ribbon, confetti, baker’s twine, or anything else you can dream of into the invitation. For these I chose to tie the invites and inserts together with baker’s twine. I tied each one up like a little gift before stuffing them into the envelopes and sealing them up.

DIY Handlettered Woodland Themed Baby Shower Invitations by thiswildseason.com

Filed Under: DIY Tagged With: baby shower, craft, crafting, DIY, DIY Handlettering, hand lettering, handlettering

DIY: Spooky Handlettered Halloween Menu

October 29, 2015 by Asharae Leave a Comment

I recently got asked to co-author a handlettering book, so I want to share a little sneak peek of what’s to come! For the book I’ve created a bunch of fun lettering styles along with little doodads and flourishes to spice up your handlettering. My fabulous co-author Melissa Averinos has created a ton of fantastic crafts that utilize the styles I’ve created and really bring them to life! I’m so excited about all the things we’ve been working on behind the scenes and can’t wait to share the book with you!

Until then, I’ll be sharing little teasers here! This particular craft is my own creation and won’t be in the book, but it’ll add a classy touch to your Halloween party this weekend! You only need a few supplies and a little creativity to get started!

DIY Spooky Halloween Menu || thiswildseason.com

The Tools You Need:

Picture frame (I found mine for 25 cents at our local thrift store)

Matte black spray paint and newspaper to protect your work surface

Paper of your choosing (I used two layers of black construction paper with some sparkly ribbon for the border)

Gold pen or marker – this kind is my current favorite

DIY Spooky Halloween Menu || thiswildseason.com

Steps:

1. Painting your picture frame. Remove the backing and glass from your picture frame, and set aside. (If the back of your frame isn’t actually removable but on a hinge instead, then you can wrap it in newspaper to avoid getting paint on it.) Working outdoors, spray paint your picture frame. Be sure to use newspaper or cardboard to protect your driveway or whatever surface you’re working on. When spraying your picture frame, light coats of paint work better than trying to cover all the surfaces at once. Let the paint dry between each coat, keep coming back and adding another coat until your frame is covered. Let dry completely while you work on the next step.

2. Creating your menu card. Measure the glass you removed from the frame to determine what size your paper should be. This is where you can get creative and choose different colors of paper to make this project your own. I used simple black construction paper, added a border of sparkly ribbon with tiny dots of glue, and then wrote my menu on a smaller piece of paper and glued it on when I was finished with the handlettering (that way, if I made a mistake, I could just start over on the menu portion without scrapping the whole project!)

DIY Spooky Halloween Menu || thiswildseason.com

3. Handlettering your menu. You’ll want to give your lettering a creepy Halloween-y kind of look to it. This is easier than it seems! Simply elongate your lettering, draw out the tails of your letters, and give your lettering an imperfect, scratchy kind of feel to it. Just imagine you’re hurriedly scrawling this menu down before scurrying back to your cauldron boiling over the fire.

4. Finishing the project. Once your picture frame is completely dry and your menu is ready, place your menu card in the frame and whip up a batch of this apple cider sangria from The Wholesome Dish! It’s optional to use the glass in your frame – if you want to protect your hand lettering, go ahead and use it. If you like the look of it without the glass (like pictured here) then leave it out!

This post contains affiliate links. That means I make a small commission off any purchase you make through that link, at no additional cost to you. Thank you for your support of This Wild Season!

Filed Under: DIY, How To Tagged With: craft, crafting, DIY, DIY Handlettering, fall, Halloween, hand lettering, handlettering, spooky

DIY Handlettered Menu

September 3, 2015 by Asharae 1 Comment

Last Friday I shared a bit about the summertime dinner party I got to put together with Susannah from Feast + West, Julia from Tag & Tibby, and Katie from Twin Stripe. We had the best time brainstorming a fabulous menu full of in-season fruits and veggies, local ingredients, and delicious recipes.

While Susannah was grilling her delicious corn on the grill, and Julia and Katie were hard at work on the table decor for our dinner, I sat down and created a handlettered menu to showcase each recipe that we’d created.

As some of you know, I’m currently co-authoring a DIY Handlettering book. (I still can’t believe it!) So I figured this sweet little handlettered menu was a great way to give you all a tiny sneak peek into everything I’ve been working on!

Follow along below for a list of supplies you’ll need and some simple instructions for creating your own handlettered menu for your next dinner party!

DIY Hand Lettered Menu - thiswildseason.com -2

The tools you need:

Pencil with a good eraser

Pen or Marker

Paper you plan to write your menu on (I used watercolor paper that had some texture to it and I glued that to a larger sheet of gold paper to give it a pretty border.)

DIY Hand Lettered Menu - thiswildseason.com -3 DIY Hand Lettered Menu - thiswildseason.com -4 Steps:

1. Using a pencil, gently sketch a general outline of how you’d like to layout your menu. Be sure to leave enough space for each item on your menu. If you find you’ve spaced your lines out too much, feel free to erase and start again.

2. Once you have a general outline, begin to sketch the lettering for each of your menu items. I chose a loose flowy cursive style for the title and recipe names, and combined that with a skinny upright all-caps style for the name of each course. I recommend very lightly sketching this in so it’s easier to erase later!

DIY Hand Lettered Menu - thiswildseason.com -5 3. When you’re confident you’ve got a good layout for your menu and lettering, go over your pencil lines with a pen or marker. Be sure to wait till your lettering is completely dry before erasing your pencil lines.

4. Once your lettering is finished and pencil lines erased, feel free to use a pretty sheet of scrapbooking paper as a border or background to your menu. I simply cut the paper 1/4 inch larger than my menu on each side and then attached them together using a glue stick.

DIY Hand Lettered Menu - thiswildseason.com -6

I’ll be updating the links below as each new blog post from our summer supper collaboration goes up! Be sure to check back soon for more great recipes! You can also follow along on Instagram and other social media with the hashtag #sweetsummersupper

Appetizer

Smoked Salmon and Cucumber Bites // Twin Stripe

Entree

Bader Hill Farm Citrus Herb Roasted Chicken

Sides

Cathead Biscuits // Feast + West

Grilled Mexican Corn // Feast + West

Mojito Melon Salad // This Wild Season

Heirloom Tomato Caprese Salad // Tag & Tibby

Drinks

Honey Lavender Gin + Tonics // Twin Stripe

Watermelon Orange Margarita Punch // Feast + West

Dessert

Oatmeal Peach Crisp // Tag & Tibby


Filed Under: DIY, How To Tagged With: craft, crafting, DIY, DIY Handlettering, hand lettering, handlettering, meal planning, menu, shared meals

Hello there!

My name is Asharae. I’m a photographer by trade, wife to an amazing man, and mama to three little ones. I am passionate about creating good food, sharing meaningful conversation around the table, trying new things, and encouraging others to do the same.

Welcome to This Wild Season! This is a place for sharing what I’m learning in the kitchen and outside of it. Most of all, it is a challenge to myself and to you to slow down, be present in the moment, and re-learn how to savor food and conversation around the table.

About

Search

Connect

  • Facebook
  • Instagram
  • Pinterest
  • Twitter
  • Vimeo

Find my book on Amazon:

Recent Posts

  • Emmeline’s Birth Story, The Story of Her Name
  • Emmeline’s Birth Story, Birth Day Part 2
  • Emmeline’s Birth Story, Birth Day Part 1
  • Emmeline’s Birth Story, My Pregnancy
  • Emmeline’s Birth Story, An Introduction
Follow on Bloglovin
Visit This Wild Season's profile on Pinterest.

Copyright © 2025 · Foodie Child Theme by Shay Bocks · Built on the Genesis Framework · Powered by WordPress