This Wild Season

Sharing what I'm learning in the kitchen as well as outside of it.

Navigation
  • Home
  • Blog
  • Recipes
    • Appetizer
    • Breakfast/Brunch
    • Side Dish
    • Main Course
    • Dessert
    • Drinks
    • Personal
  • About

Butternut Squash with Cilantro Garlic Sauce and Sriracha Crema

November 1, 2016 by Asharae 3 Comments

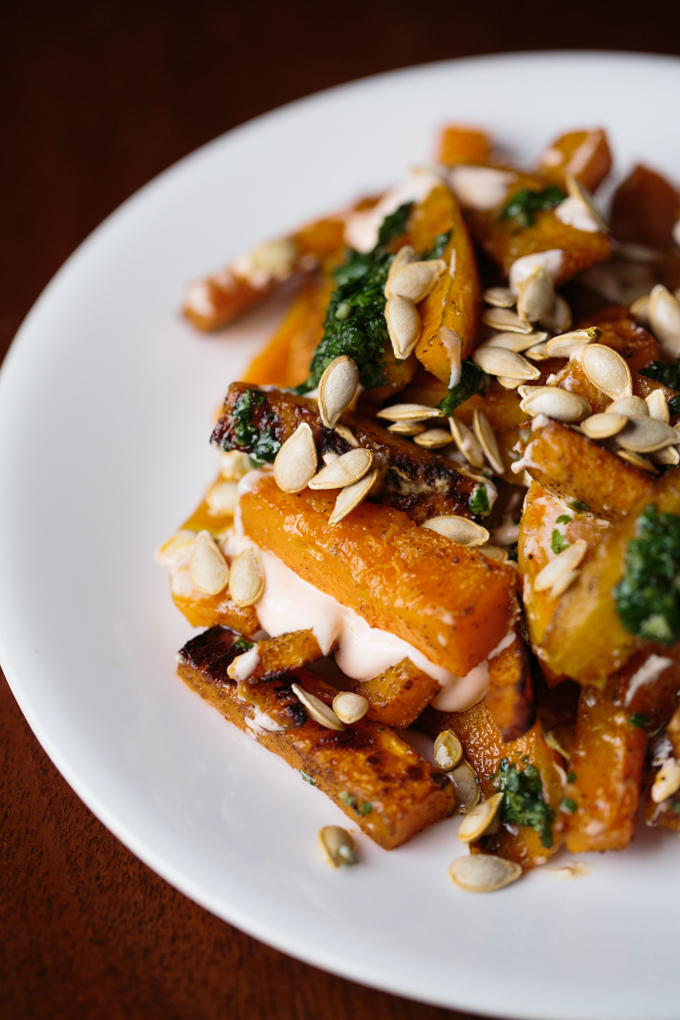
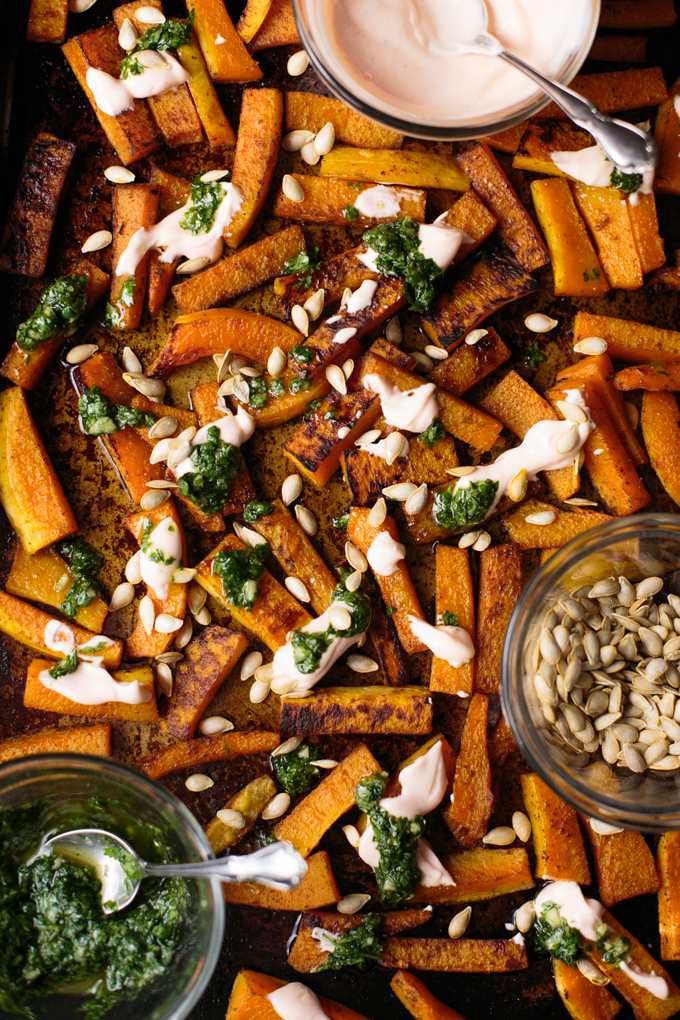
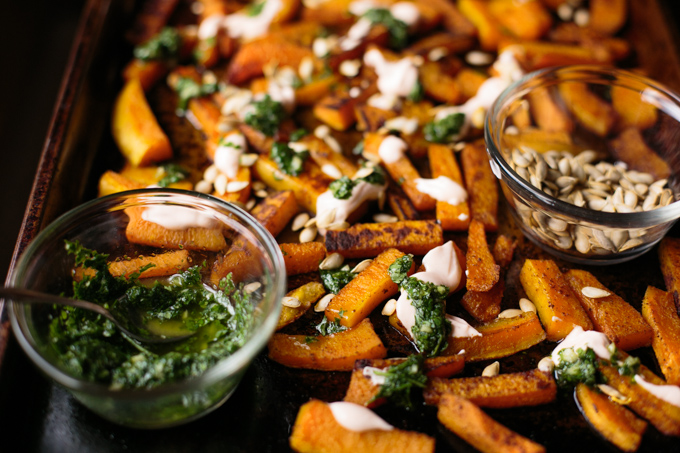
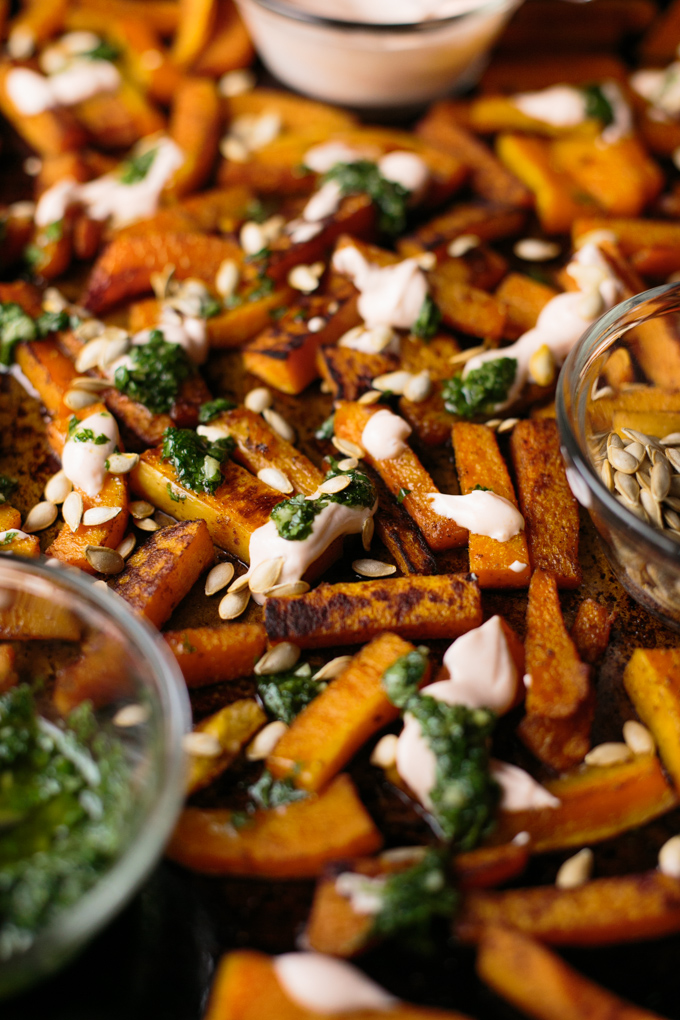
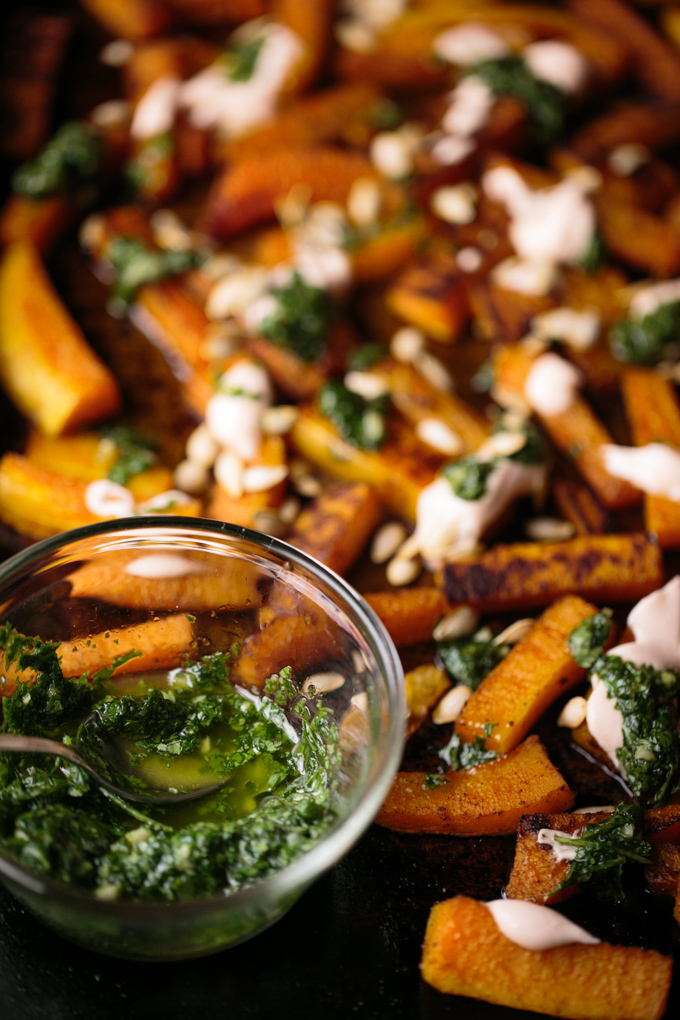
Let’s talk about how pretty this dish is. The bright orange butternut squash, vibrant green cilantro sauce, the Sriracha crema with just a hint of red in it, and crunchy roasted butternut squash seeds to top it off. And it’s not only gorgeous, but delicious too.

This recipe was inspired by one from Yotam Ottolenghi’s cookbook Plenty More. His recipe just used cinnamon, but I wanted a smokier, spicier flavor to the squash, so I added cumin, paprika, and chile powder as well. If you’re not a fan of so much spice, you can go easy on the Sriracha and the spices, but the yogurt does cool the flavors down quite a bit.

This serves 4-6 as a side, but I won’t judge if you decide to eat is as your main course. My husband and I polished of an entire butternut squash in one sitting, so I give you permission to do the same. Enjoy!

this-wild-season-butternut-squash-with-cilantro-garlic-sauce-and-sriracha-crema-11 this-wild-season-butternut-squash-with-cilantro-garlic-sauce-and-sriracha-crema-2 this-wild-season-butternut-squash-with-cilantro-garlic-sauce-and-sriracha-crema-3 this-wild-season-butternut-squash-with-cilantro-garlic-sauce-and-sriracha-crema-4 this-wild-season-butternut-squash-with-cilantro-garlic-sauce-and-sriracha-crema-5 this-wild-season-butternut-squash-with-cilantro-garlic-sauce-and-sriracha-crema-6 this-wild-season-butternut-squash-with-cilantro-garlic-sauce-and-sriracha-crema-7 this-wild-season-butternut-squash-with-cilantro-garlic-sauce-and-sriracha-crema-8 this-wild-season-butternut-squash-with-cilantro-garlic-sauce-and-sriracha-crema-9 this-wild-season-butternut-squash-with-cilantro-garlic-sauce-and-sriracha-crema-10

Butternut Squash with Cilantro Garlic Sauce and Sriracha Crema

Asharae Kroll
Print Recipe Pin Recipe
Prep Time 15 mins
Cook Time 30 mins
Total Time 45 mins
Servings 4

Ingredients
  

For the Butternut Squash

  • 1 large butternut squash about 3 lb
  • 2 Tbs olive oil
  • 1 1/2 tsp ground cumin
  • 1/4 tsp chile powder
  • 1/4 tsp cinnamon
  • Dash of paprika

For the Cilantro Garlic Sauce

  • 4 Tbs olive oil
  • 1 bunch of cilantro leaves
  • 1 clove of garlic minced

For the Sriracha Crema

  • 1/2 c plain Greek yogurt
  • 1 tsp Sriracha
  • Salt and pepper

Instructions
 

  • Preheat your oven to 425 F.
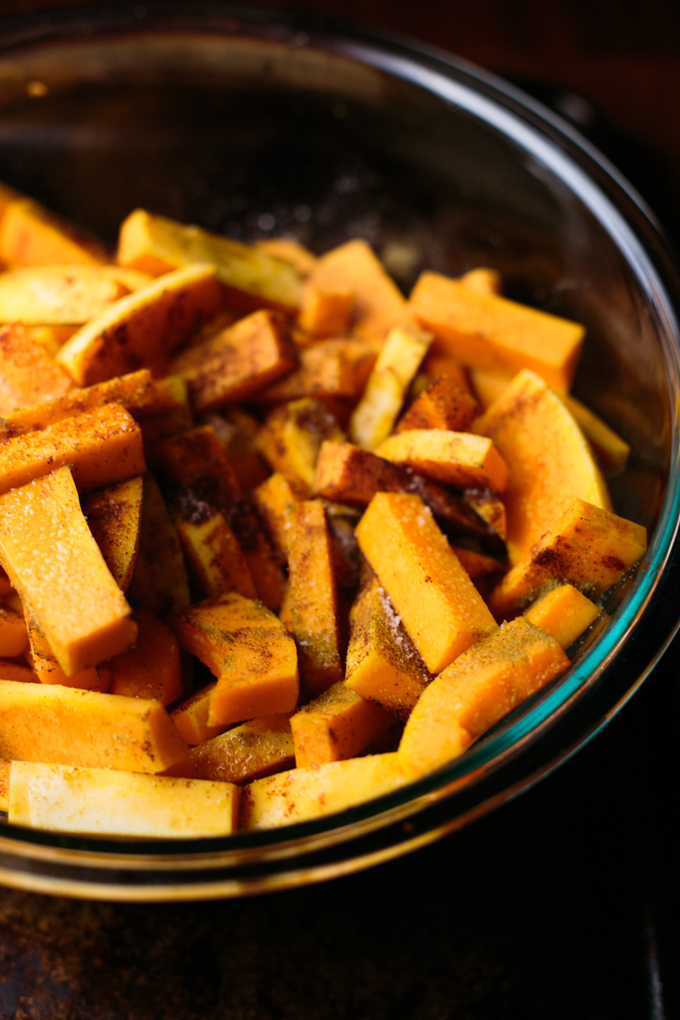
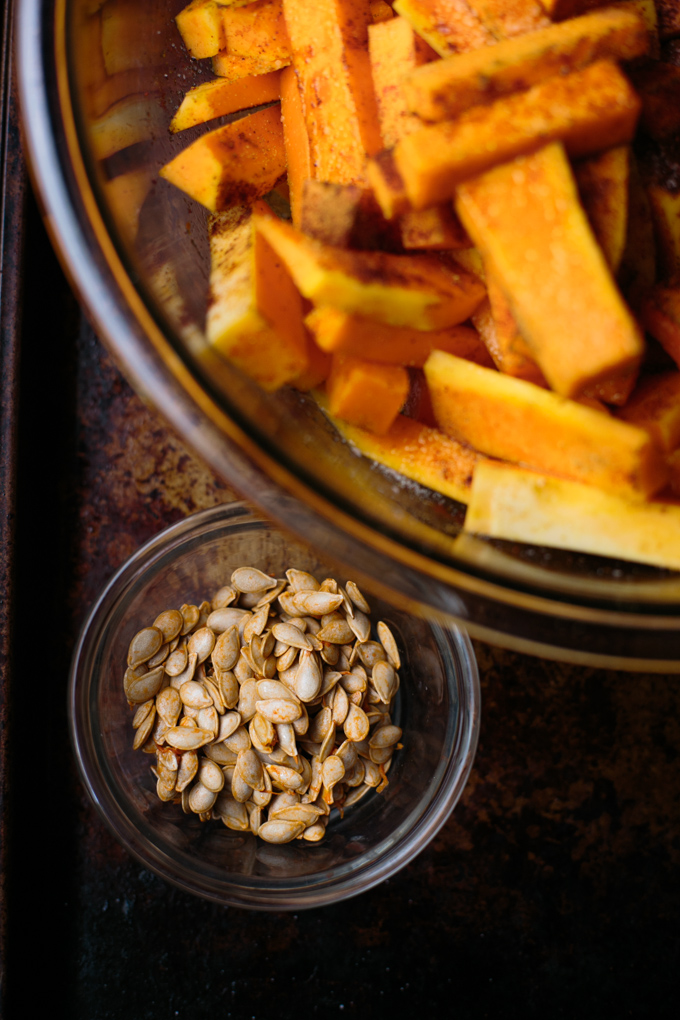
  • Prepare your butternut squash. To more easily peel your butternut squash, use a fork to poke holes all over. Heat for 1-2 minutes in the microwave. Let cool, cut each end off with a knife, then use a vegetable peeler to remove the skin. Cut your butternut squash in half, separating the taller skinny half from the wide fat end. Place each half of the squash on your cutting board, cut side down, and cut each one in half. Scoop the seeds out and set them aside to use later. Continue cutting the squash till you have small wedge or fry shapes.
  • Place squash in a large bowl with 2 Tbs of the olive oil, toss well to coat, and add cumin, chile powder, cinnamon, paprika, 3/4 tsp salt, and a dash of pepper. Toss well.
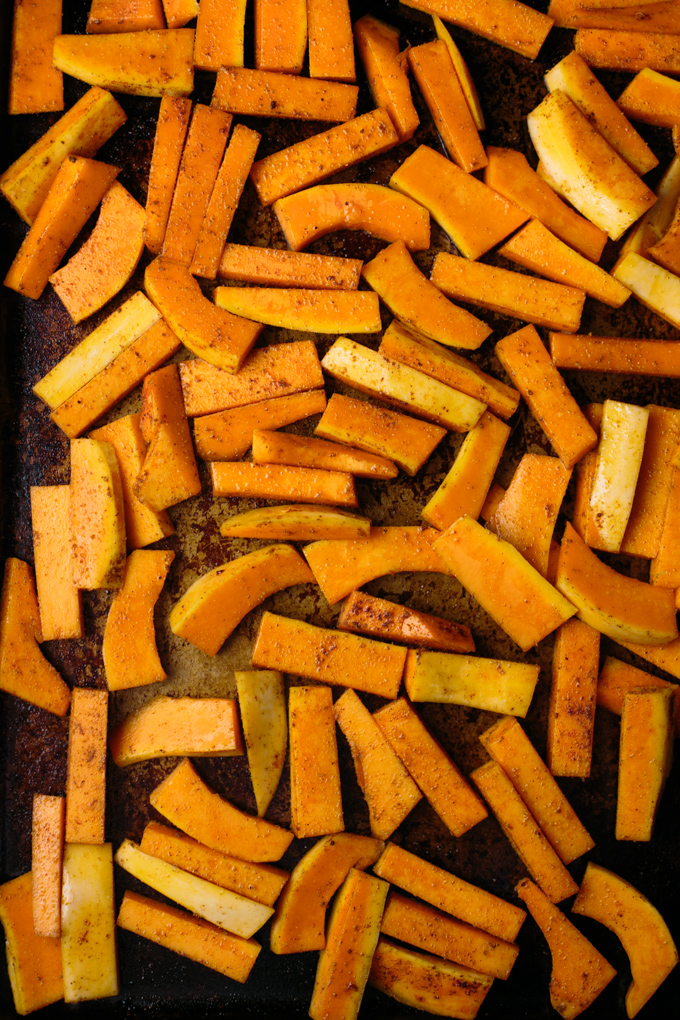
  • Place the squash on two large baking sheets, roast for 15 minutes, remove from the oven and flip the squash with a spatula. Return your pans to the oven (switching which shelf you had them on) and roast for 15 more minutes, or until squash is tender and starting to color on top. Remove from oven and set aside.
  • While the squash is roasting, make the cilantro sauce. Place cilantro, garlic, 4 Tbs olive oil, and a generous pinch of salt into a small food processor and blend until well combined. Add more cilantro or olive oil as necessary.
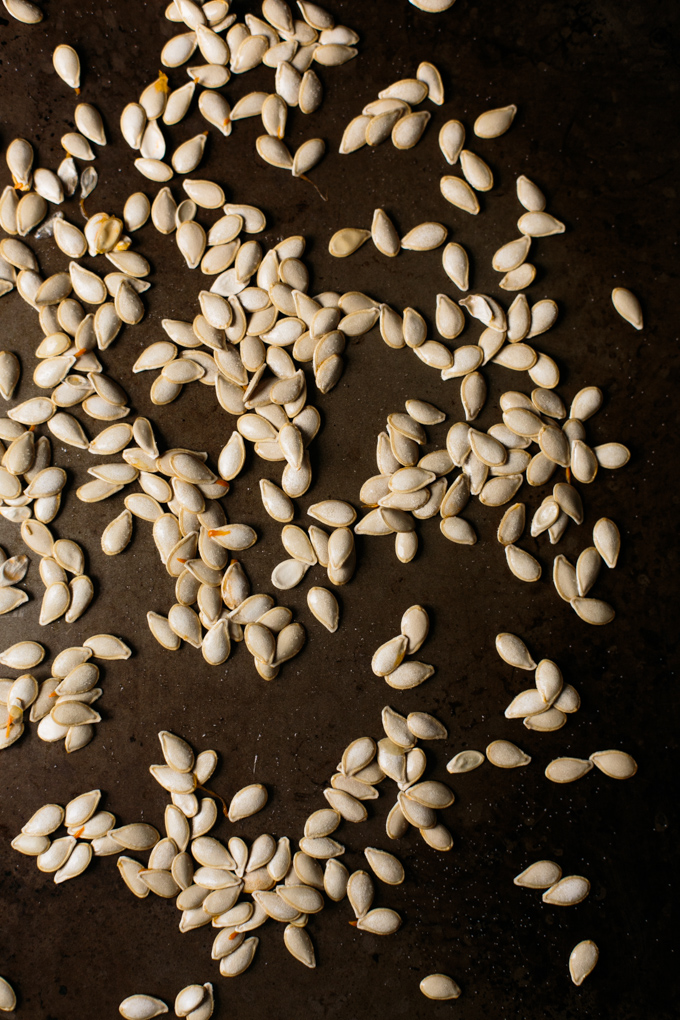
  • When the squash is finished roasting, lower the oven temperature to 350 F. Clean the saved seeds from the squash, separating them from the orange pulp and rinsing in a sieve if you wish. Pat seeds dry with a paper towel, place on a baking sheet, and sprinkle lightly with salt (I like using popcorn salt for this. It's such a fine salt that it sticks better.) Roast seeds for 6-8 minutes, checking on them and shaking the pan often to make sure they don't burn. Remove from oven when they start to brown. Let cool.
  • Stir the yogurt and Sriracha together and set aside.
  • Serve butternut squash drizzled with cilantro sauce, Sriracha crema, and sprinkled with roasted squash seeds.

this-wild-season-butternut-squash-with-cilantro-garlic-sauce-and-sriracha-crema

Filed Under: Side Dish Tagged With: autumn, autumn recipe, butternut squash, fall, fall recipe, vegetarian

Honey Wheat Bread for the Bread Machine

April 21, 2016 by Asharae 3 Comments

Today I’m sharing a recipe that has become the go-to bread in our kitchen. Several years ago I “borrowed” my mom’s bread machine and somehow just haven’t given it back yet. The bread machine is one of those weird kitchen appliances that takes up entirely too much room, and is really only good for one purpose, but I really do think it’s worth its weight in gold.

Homemade bread is approximately 1273 times more delicious than store-bought bread, and the bread machine makes it so much more attainable. If I was kneading bread by hand or even watching it in my KitchenAid Mixer, I would rarely make it. With the bread machine I make bread almost every week. It’s so easy to throw all the ingredients in, push a few buttons, and forget about it for an hour and a half. I do prefer to use my machine to knead the dough and do the first rising, but then I bake it in the oven in a regular 5×9 loaf pan.

After the dough has completed its cycle, you just remove it from the bread machine pan and pat it out on a floured surface (I like to flour a rimmed baking sheet because it makes for easy clean-up!) You want your dough to be roughly rectangular, and about the length of your well-greased 5×9 loaf pan. Don’t think too much about this though – it doesn’t have to be perfect!

Honey Wheat Bread Recipe for the Bread Machine by This Wild Season -2

Once you’ve patted the dough out, fold it into thirds. Look! It’s a little bread burrito!

Honey Wheat Bread Recipe for the Bread Machine by This Wild Season -3 Honey Wheat Bread Recipe for the Bread Machine by This Wild Season -4

Once your dough is folded, gently lift it and flip it into your greased bread pan so that the seam or fold is on the bottom.

Honey Wheat Bread Recipe for the Bread Machine by This Wild Season -5

Use a knife to make a shallow (about 1/4 inch deep) cut in the top of your bread. This will allow space for it to expand while it rises a second time.

Honey Wheat Bread Recipe for the Bread Machine by This Wild Season -6

At this point we wait again. Time to let the dough rise. Set it aside in a warm place till it looks about the size you want it to be once baked. My method for this is to heat my oven up slightly and then shut it off. I put the dough in for about 25 minutes before removing it. This speeds up the rising process quite a bit, especially if your house tends to be cold.

Honey Wheat Bread Recipe for the Bread Machine by This Wild Season -7

Once the dough is almost the size you want it to be when finished, remove it from the oven so you can preheat it to 375 F. Once the oven is good to go, put your dough in for 25 minutes. It’s finished when browned on top and hollow-sounding when tapped with your finger.

Honey Wheat Bread Recipe for the Bread Machine by This Wild Season -8 Honey Wheat Bread Recipe for the Bread Machine by This Wild Season -9

Carefully remove the bread from the pan and let it cool completely before cutting it. If you have a cooling rack, that’s perfect for this. If you place your bread flat on a plate, it can get soggy on the bottom as the steam from the bread will condense on the plate as it cools. And no one likes soggy bread.

Honey Wheat Bread Recipe for the Bread Machine by This Wild Season -10 Honey Wheat Bread Recipe for the Bread Machine by This Wild Season -11

Mmmm. Fresh-baked bread perfection. That wasn’t so difficult was it?

If you’ve got a bread machine, use it! If your mom or grandma has a bread machine, borrow it! You can thank me later. This bread is perfect for sandwiches, grilled cheese, french toast, and even just dipping in olive oil and spices.

And one last note – if you don’t have whole wheat flour or prefer not to use it, you can follow my original bread recipe instead.

Honey Wheat Bread for the Bread Machine

Asharae Kroll
Print Recipe Pin Recipe

Ingredients
  

  • 1 c warm water
  • 2 Tbs butter softened
  • 1 tsp salt
  • 2 Tbs honey
  • 2 c bread flour
  • 1/2 c whole wheat flour
  • 1 packet yeast 2 1/4 tsp

Instructions
 

  • Place ingredients into bread machine in the order recommended by the manufacturer.
  • Mine recommends to put the water, salt, butter, and honey in first.
  • Add the flours on top of that.
  • Make a small well in the flour and add the yeast.
  • Adjust your bread machine to the Dough setting, 1.5lb loaf and let it run. I like to check on it about 5 minutes in to make sure it's not too wet or too dry. If it looks too wet and sticky, add a tablespoon or two of flour. If too dry and flaky-looking, add a tablespoon or two of water. Let the machine run through its whole cycle and try not to peek at it too much! (Bread machines heat up slightly which helps the rising process, each time you open it you let some of the heat out which can cause it to rise slower.)
  • Once the dough cycle is finished, turn dough out onto a floured surface. Gently press into a rectangle about 9-10 inches long (you can measure it along the side of your 9x5 pan). Fold one of the long sides in toward the center and fold the other long side on top of that - you're essentially folding it in thirds. Gently place the dough, seam side down, in your well-greased 9x5 pan. Use a knife to cut a small slit (about 1/4 inch deep) down the middle of the dough - this will allow it to expand.
  • Let the dough rise for 30 minutes or so until it looks good. If your house is colder, this could take up to an hour or more. I like to heat my oven for a few minutes, turn it off, and place the dough in for about 30 min to speed up the process. Whatever it looks like now is approximately the size it'll be when it's done baking. Toward the end of this final rising, preheat your oven to 375 degrees. (Take the bread out at this time if you used the oven to let it rise.)
  • Once dough is finished rising, bake for 25 minutes at 375.
  • Bread is finished when you tap it with your finger and it sounds hollow.


Filed Under: Side Dish Tagged With: baking, bread, bread machine, comfort food, easy recipe, simple recipe

Chopped Cherry Tomato Caprese

October 13, 2015 by Asharae Leave a Comment

The Sweet 100 cherry tomato plant in our garden has been most prolific this summer and into the fall. Each day I go out to find a few more little red tomatoes on the vine. As the weather is starting to turn to fall here in NC, this is my ode to warmer days and some of my favorite summer flavors.

Caprese salad is typically made with large slices of tomato and mozzarella, layered with fresh chopped basil, a drizzle of balsamic vinegar, and a little olive oil and salt and pepper. This version is a twist on the traditional recipe by using cherry tomatoes and chopping everything up to make a pretty tossed salad. I usually like to leave out the olive oil, but you’re welcome to add it back into this recipe.

Chopped Cherry Tomato Caprese by thiswildseason.com -2 Chopped Cherry Tomato Caprese by thiswildseason.com -3 Chopped Cherry Tomato Caprese by thiswildseason.com -4


Chopped Cherry Tomato Caprese

Asharae Kroll
Print Recipe Pin Recipe

Ingredients
  

  • 1 pint cherry tomatoes quartered
  • 1-2 Tbs balsamic vinegar
  • Handful of chopped mozzarella You can purchase a pre sliced ball of mozzarella at the store to make this simpler. I used a couple slices and chopped them into small squares.
  • A few leaves of fresh basil chopped
  • Kosher salt and pepper to taste

Instructions
 

  • Combine all ingredients.
  • Let rest in the fridge for 15 minutes for the flavors to get happy.
  • Enjoy.

Chopped Cherry Tomato Caprese by thiswildseason.com

Filed Under: Appetizer, Side Dish

Mojito Melon Salad

September 1, 2015 by Asharae 6 Comments

This mojito melon salad is probably the simplest recipe I’ve ever posted here. At this point in the summer, when school is starting back, and you’re not quite ready to get back in the kitchen full-time, this is a perfect side dish to toss together and throw in the fridge till you’re ready to serve it.

This salad was part of my summer suppers collaboration with Tag & Tibby, Twin Stripe, and Feast + West. Be sure to check out my intro post for more photos and visit each of these lovely ladies’ blogs for some more fabulous recipes this week! Come back here on Thursday for a fun DIY feature as well!

Summer Suppers Collaboration - thiswildseason.com -2 Summer Suppers Collaboration - thiswildseason.com -3 Summer Suppers Collaboration - thiswildseason.com -4 Summer Suppers Collaboration - thiswildseason.com -5 Summer Suppers Collaboration - thiswildseason.com -6 Summer Suppers Collaboration - thiswildseason.com -7

If you’re feeling a little extra fancy, try using a melon baller to scoop out the watermelon – it makes the dish extra pretty! This was actually the first time I’d ever used a melon baller, and I found it worked much better on the juicy watermelon than the other melon I used for this recipe. Feel free to adjust the flavors to suit your taste, and try it with and without feta to see which you like better!

Mojito Melon Salad

Asharae Kroll
Print Recipe Pin Recipe
Prep Time 15 mins
Total Time 15 mins

Ingredients
  

  • 1 small watermelon cut into small pieces
  • 1 small melon honeydew or other melon
  • Juice of 1-2 limes
  • Handful of mint chopped
  • Pinch of salt
  • Handful of feta optional

Instructions
 

  • Combine all ingredients except the feta. Let rest in the fridge for a half hour or so to allow the flavors to combine
  • Adjust lime, mint, and salt to taste
  • Serve topped with feta (optional)

I’ll be updating the links below as each new blog post from our summer supper collaboration goes up! Be sure to check back soon for more great recipes! You can also follow along on Instagram and other social media with the hashtag #sweetsummersupper

Appetizer

Smoked Salmon and Cucumber Bites // Twin Stripe

Entree

Bader Hill Farm Citrus Herb Roasted Chicken

Sides

Cathead Biscuits // Feast + West

Grilled Mexican Corn // Feast + West

Mojito Melon Salad // This Wild Season

Heirloom Tomato Caprese Salad // Tag & Tibby

Drinks

Honey Lavender Gin + Tonics // Twin Stripe

Watermelon Orange Margarita Punch // Feast + West

Dessert

Oatmeal Peach Crisp // Tag & Tibby

Filed Under: Side Dish Tagged With: brunch recipe, easy recipe, easy side dish, simple recipe, summer recipe, summertime

  • 1
  • 2
  • 3
  • …
  • 6
  • Next Page »

Hello there!

My name is Asharae. I’m a photographer by trade, wife to an amazing man, and mama to three little ones. I am passionate about creating good food, sharing meaningful conversation around the table, trying new things, and encouraging others to do the same.

Welcome to This Wild Season! This is a place for sharing what I’m learning in the kitchen and outside of it. Most of all, it is a challenge to myself and to you to slow down, be present in the moment, and re-learn how to savor food and conversation around the table.

About

Search

Connect

  • Facebook
  • Instagram
  • Pinterest
  • Twitter
  • Vimeo

Find my book on Amazon:

Recent Posts

  • Emmeline’s Birth Story, The Story of Her Name
  • Emmeline’s Birth Story, Birth Day Part 2
  • Emmeline’s Birth Story, Birth Day Part 1
  • Emmeline’s Birth Story, My Pregnancy
  • Emmeline’s Birth Story, An Introduction
Follow on Bloglovin
Visit This Wild Season's profile on Pinterest.

Copyright © 2025 · Foodie Child Theme by Shay Bocks · Built on the Genesis Framework · Powered by WordPress