I recently got asked to co-author a handlettering book, so I want to share a little sneak peek of what’s to come! For the book I’ve created a bunch of fun lettering styles along with little doodads and flourishes to spice up your handlettering. My fabulous co-author Melissa Averinos has created a ton of fantastic crafts that utilize the styles I’ve created and really bring them to life! I’m so excited about all the things we’ve been working on behind the scenes and can’t wait to share the book with you!
Until then, I’ll be sharing little teasers here! This particular craft is my own creation and won’t be in the book, but it’ll add a classy touch to your Halloween party this weekend! You only need a few supplies and a little creativity to get started!
The Tools You Need:
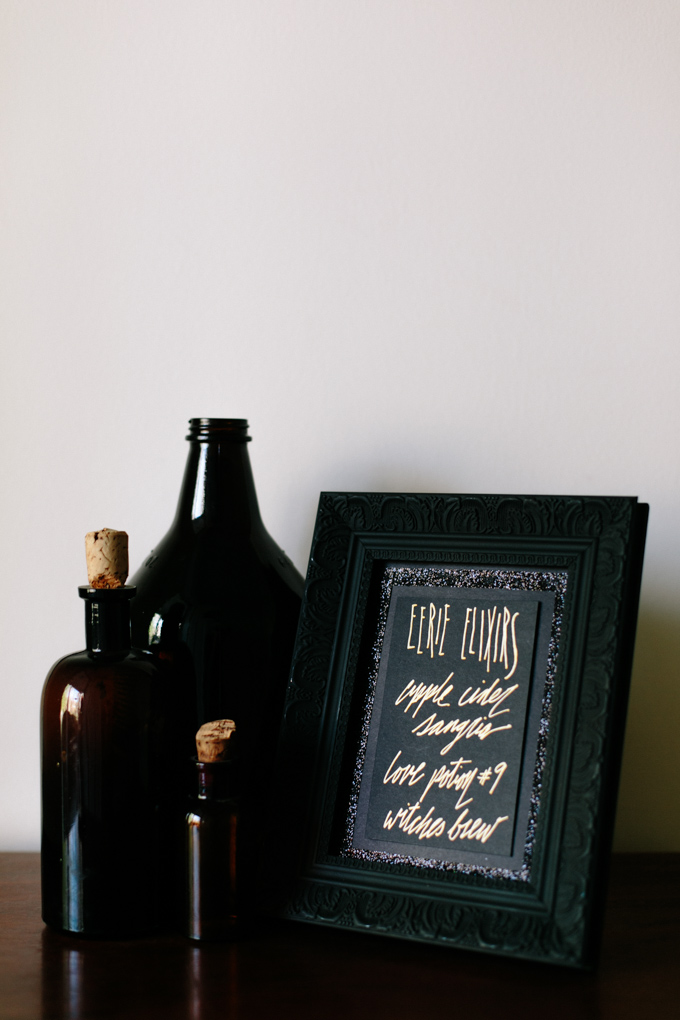
Picture frame (I found mine for 25 cents at our local thrift store)
Matte black spray paint 
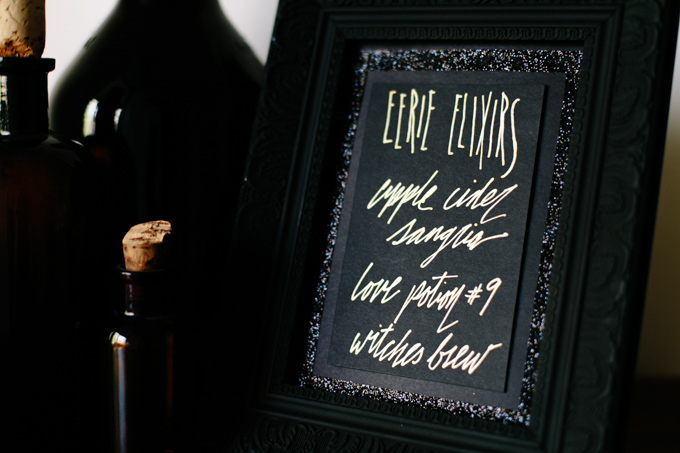
Paper of your choosing (I used two layers of black construction paper with some sparkly ribbon for the border)
Gold pen or marker – this kind is my current favorite

Steps:
1. Painting your picture frame. Remove the backing and glass from your picture frame, and set aside. (If the back of your frame isn’t actually removable but on a hinge instead, then you can wrap it in newspaper to avoid getting paint on it.) Working outdoors, spray paint your picture frame. Be sure to use newspaper or cardboard to protect your driveway or whatever surface you’re working on. When spraying your picture frame, light coats of paint work better than trying to cover all the surfaces at once. Let the paint dry between each coat, keep coming back and adding another coat until your frame is covered. Let dry completely while you work on the next step.
2. Creating your menu card. Measure the glass you removed from the frame to determine what size your paper should be. This is where you can get creative and choose different colors of paper to make this project your own. I used simple black construction paper, added a border of sparkly ribbon with tiny dots of glue, and then wrote my menu on a smaller piece of paper and glued it on when I was finished with the handlettering (that way, if I made a mistake, I could just start over on the menu portion without scrapping the whole project!)
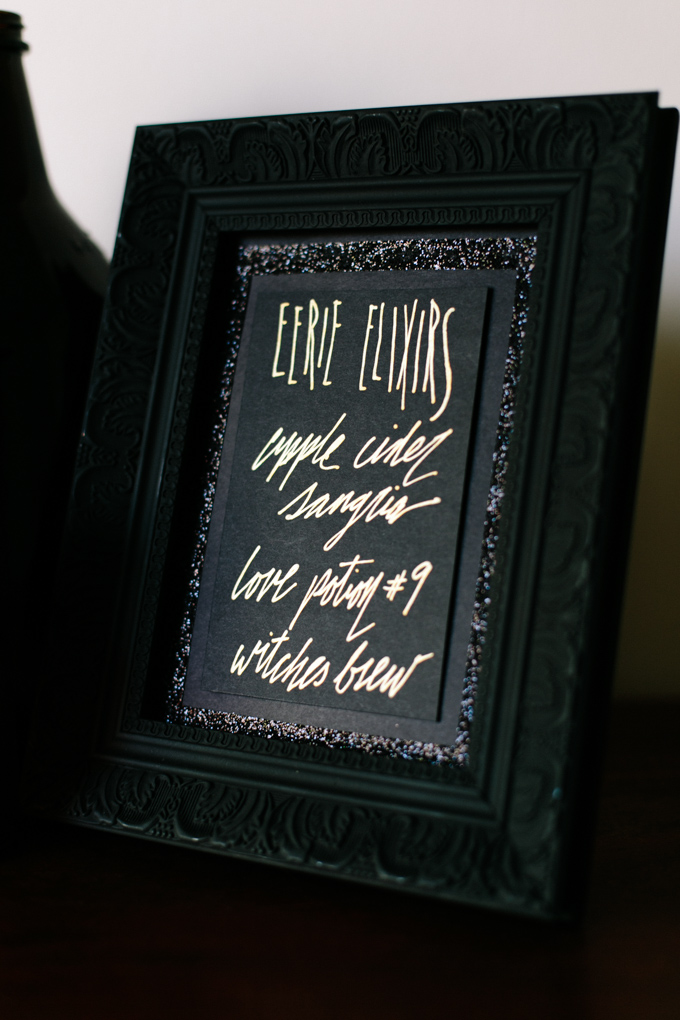
3. Handlettering your menu. You’ll want to give your lettering a creepy Halloween-y kind of look to it. This is easier than it seems! Simply elongate your lettering, draw out the tails of your letters, and give your lettering an imperfect, scratchy kind of feel to it. Just imagine you’re hurriedly scrawling this menu down before scurrying back to your cauldron boiling over the fire.
4. Finishing the project. Once your picture frame is completely dry and your menu is ready, place your menu card in the frame and whip up a batch of this apple cider sangria from The Wholesome Dish! It’s optional to use the glass in your frame – if you want to protect your hand lettering, go ahead and use it. If you like the look of it without the glass (like pictured here) then leave it out!
This post contains affiliate links. That means I make a small commission off any purchase you make through that link, at no additional cost to you. Thank you for your support of This Wild Season!