This Wild Season

Sharing what I'm learning in the kitchen as well as outside of it.

Navigation
  • Home
  • Blog
  • Recipes
    • Appetizer
    • Breakfast/Brunch
    • Side Dish
    • Main Course
    • Dessert
    • Drinks
    • Personal
  • About

Guest Post by Lily Dunn – Zucchini Lasagna

July 23, 2014 by Asharae Leave a Comment

Today I’m excited to have my dear friend Lily Dunn guest posting here on This Wild Season. Lily is a fabulous writer, so you should check out her blog Such Small Hands, as well as the travel blog she shares with her husband – Two Sore Thumbs.

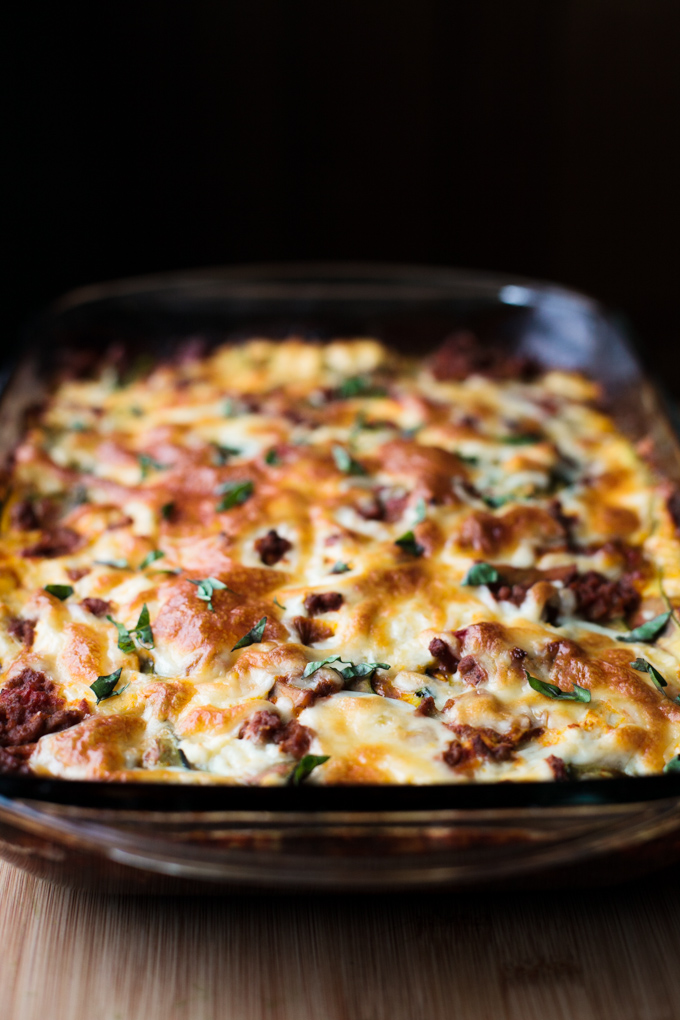
I made this recipe to share with my family over the weekend and I can assure you that it is absolutely delicious! It got glowing reviews all around, including one from my dad who admitted it was the best lasagna he’d ever eaten. I confess I was a little hesitant to swap out noodles for zucchini instead, but I honestly enjoyed this recipe way more than regular lasagna! I have a distinct feeling this is the only way I’ll make lasagna from here on out.

And with that introduction, I’ll hand it off to Lily!

Eleven months ago my husband and I moved to South Korea to teach English. Living in a foreign country can feel exciting and adventurous, but there are still times when it’s hard not to be overcome by homesickness and longing for the comfortable and familiar. One of the best ways for me to feel connected to home is through food. I love to cook, especially for friends and family. Here in Korea, I don’t have access to the same ingredients or cooking methods I did at home (no ovens!) so I’ve had to make some creative adjustments and adaptations.

This lasagna is one of those recipes born from “creative adaptation.” It is special to me, not only because it’s so delicious, but because I have come to associate it with community. A few months ago I made this for a group of girls who were meeting for the first time, hoping to start a Bible study. My Wednesday nights with them have now become the best part of my week. When my parents visited at the beginning of May we went to lots of great restaurants and enjoyed some great meals, but one night we stayed home and I made this lasagna for them and we ate together sitting half on the couch and half at the table because we only have 2 chairs. After they left my mom sent me an email that said, “I asked Dad what his favorite food was that we tried while we were there. He mentioned a few restaurant meals we’d had, but then he said, ‘I think my favorite thing was Lily’s zucchini lasagna.’” Winning. 🙂

The zucchini actually replaces the pasta in this dish, so it’s a great option for those who eat gluten-free or low-carb as well as being a great somewhat lighter version of a well-loved comfort food. Since most of the flavor comes from the sauce and the cheese, and the zucchini itself doesn’t have a strong flavor, you really don’t miss the pasta. In fact, my husband, who is a lasagna aficionado but not a big vegetable eater, LOVES this dish. There’s a bit of prep time involved, but you can make it ahead of time and just pop it in the oven when you are ready to eat it. As they say in Korea, “잘먹겠습니다!” (jal meog-es-seub-ni-da – the Korean version of “Bon Apetit!”)

Zucchini-Lasagna_Lily-Dunn_This-Wild-Season-2 Zucchini-Lasagna_Lily-Dunn_This-Wild-Season-3 Zucchini-Lasagna_Lily-Dunn_This-Wild-Season-4 Zucchini-Lasagna_Lily-Dunn_This-Wild-Season-5 Zucchini-Lasagna_Lily-Dunn_This-Wild-Season-6 Zucchini-Lasagna_Lily-Dunn_This-Wild-Season-7 Zucchini-Lasagna_Lily-Dunn_This-Wild-Season-8

Cooking Notes:

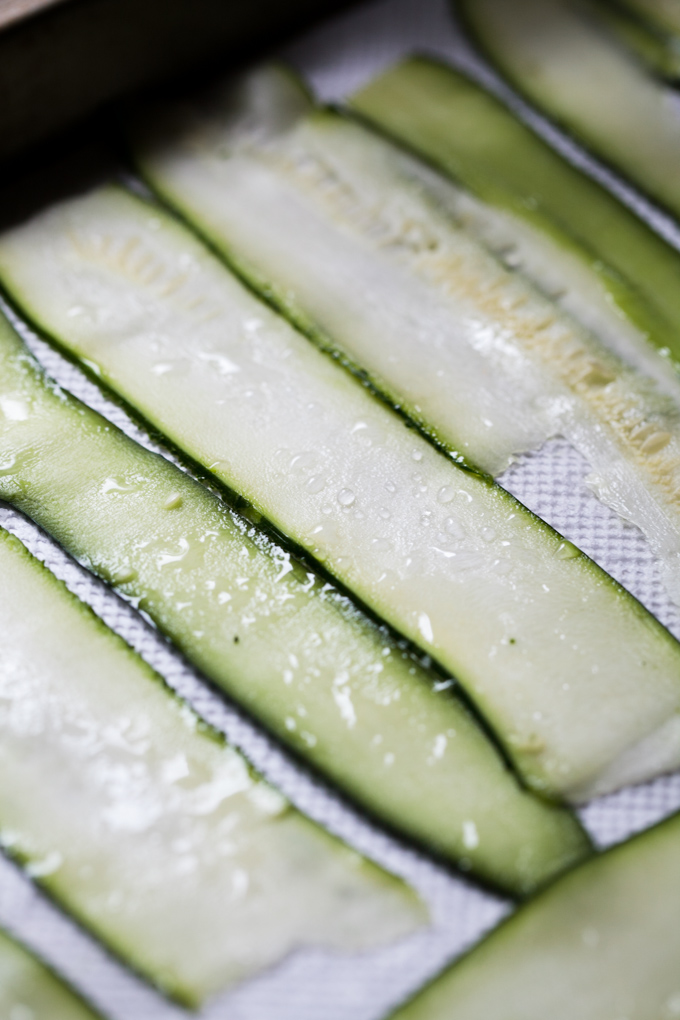
The sweating process for the zucchini is very important. If you don’t do this you will end up with watery soupy gloop.

The original recipe calls for an egg added to the cheese mixture. I prefer it without the egg because I think it makes the cheese creamier. If you like the cheese part to be stiffer you can add one egg.

I add mushrooms to my sauce, but these are entirely optional.

I make this in a convection toaster oven since Korean kitchens don’t have ovens. Because of that I have to use a smaller pan (maybe 11’x7’?) I use the same amount of sauce and cheese mixture, but only 1 – 1 1/2 zucchinis.

This recipe calls for mozzarella, but I have trouble getting that here so I have been using a three-cheese blend and it’s delicious. I think you could really use any cheese, it will just change the flavor slightly.

Zucchini Lasagna

Lily Dunn / Adapted from Sandra M at Key Ingredient
Print Recipe Pin Recipe

Ingredients
  

  • 1 lb lean ground beef
  • 1/2 yellow onion diced
  • 3 cloves garlic minced
  • 1 cup white mushrooms chopped
  • 1 tsp olive oil
  • 1 jar of your favorite marinara sauce I use Classico’s Italian sausage and pepper for this and it is AMAZING
  • 2 large or 3 medium zucchinis
  • 15 oz part-skim ricotta cheese
  • 16 oz shredded part-skim mozzarella or other cheese + 1/2 cup to sprinkle on top
  • 1/4 cup grated parmesan

Instructions
 

  • In a large saucepan, brown the ground beef. Drain, rinse, and set aside.
  • In the pan you used to brown the meat, heat the olive oil. Add the garlic, onions, and mushrooms and sauté until the onions are soft. (2-3 minutes)
  • Add the ground beef and marinara sauce. Bring to a boil, then turn down to low and simmer for 45 – 50 minutes. The sauce is meant to thicken quite a bit. Do not add any water.
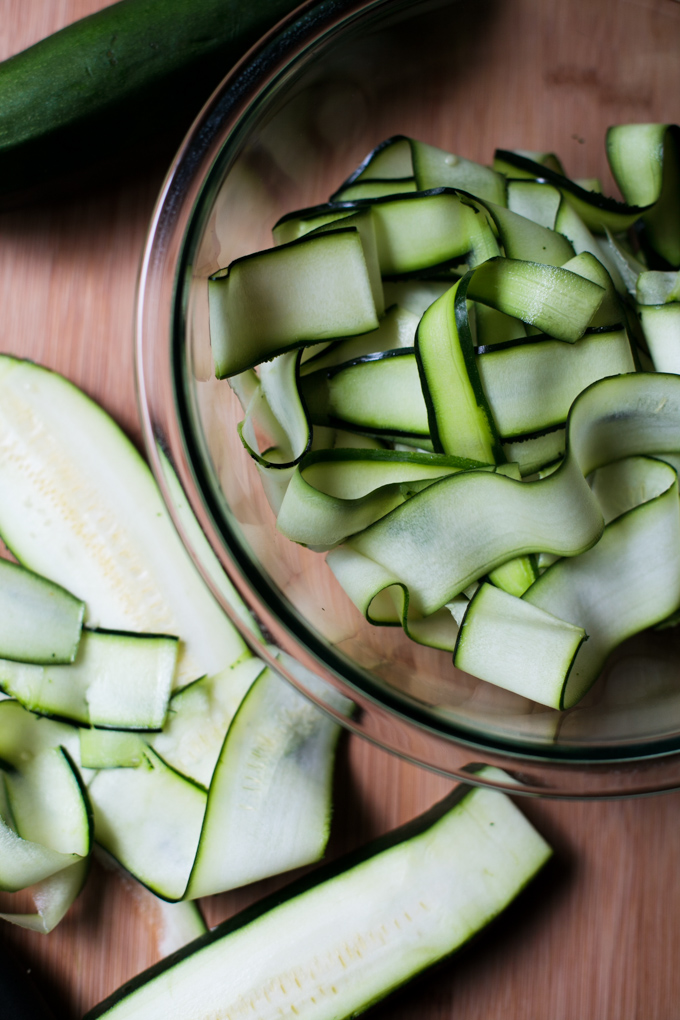
  • Meanwhile, slice the zucchini lengthwise into long lasagna-noodle shaped strips (about 1/8 inch thick). I use a vegetable peeler for this. Lay the zucchini slices out on paper towels and sprinkle with salt. Allow the zucchini to “sweat” for 20 minutes. Then pat dry to remove excess moisture.
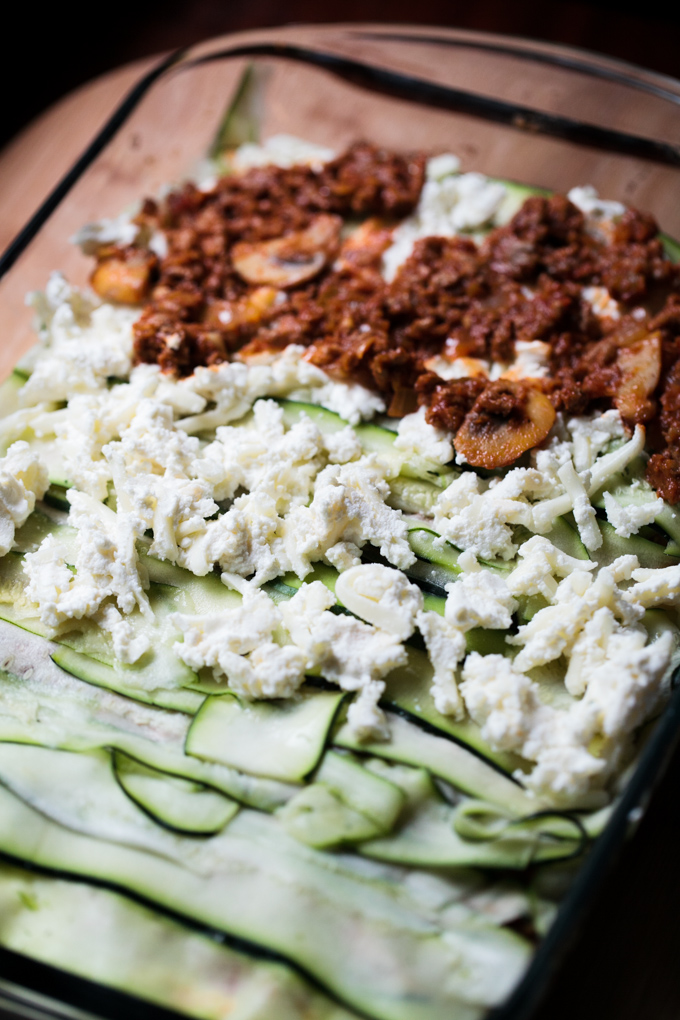
  • In a large bowl, combine ricotta, parmesan, and shredded mozzarella.
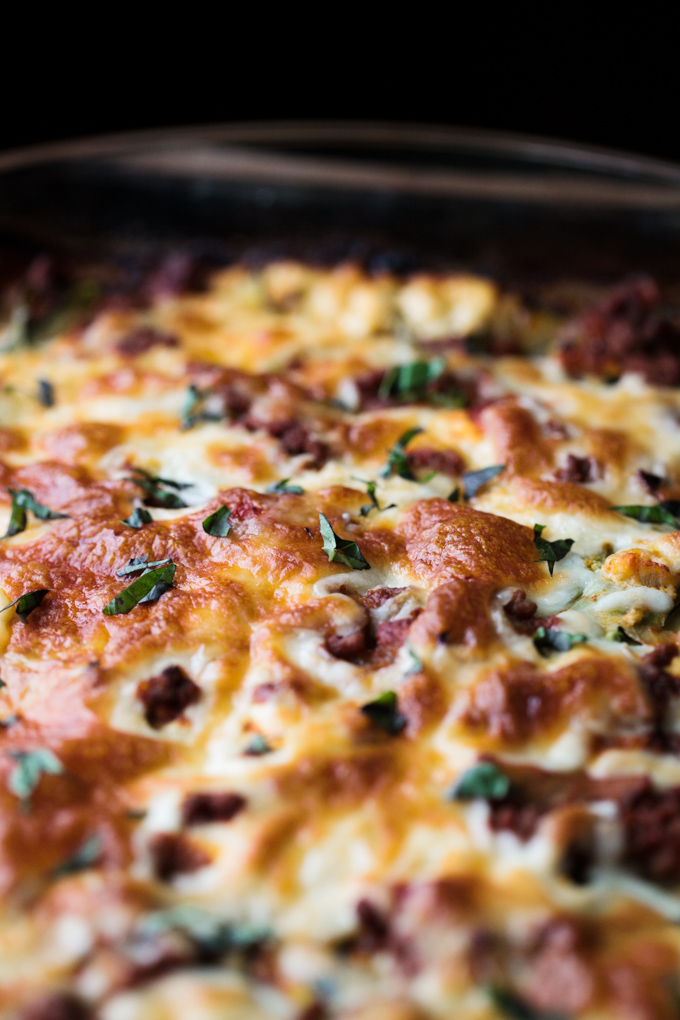
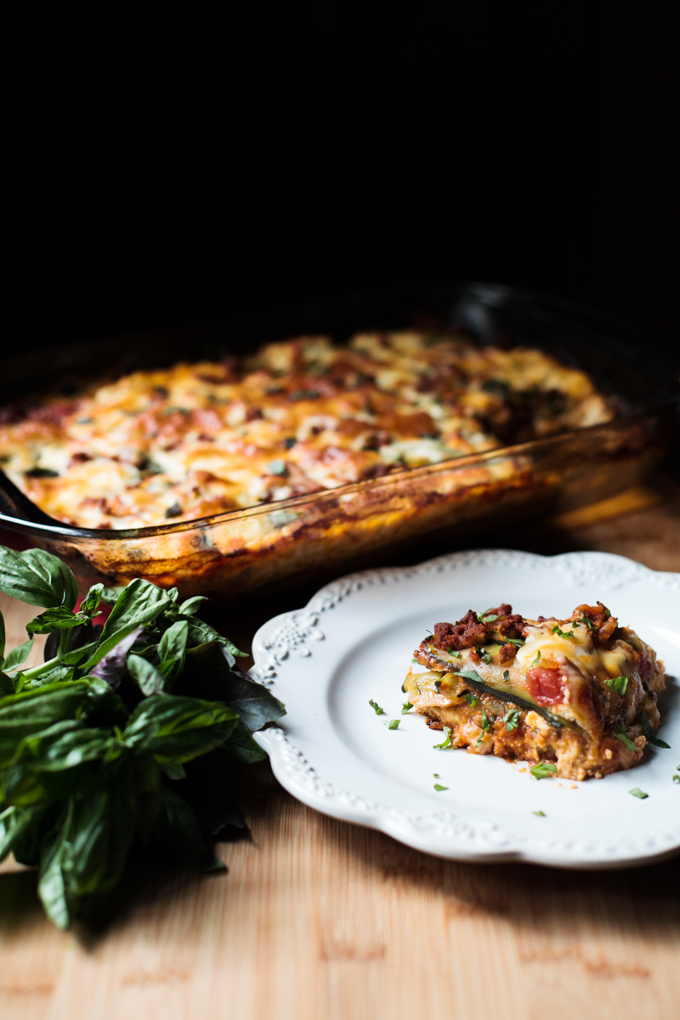
  • Spread a thin layer of sauce in the bottom of an 8’x12’ casserole dish –just enough to coat the bottom. Top with a layer of zucchini. (If some of your zucchini pieces are very thin, you can double them up). Finish with a layer of cheese mixture. Continue to layer in this order until your ingredients are used up, finishing with a layer of sauce and the remaining 1/2 cup of mozzarella cheese. (I usually get two complete layers)
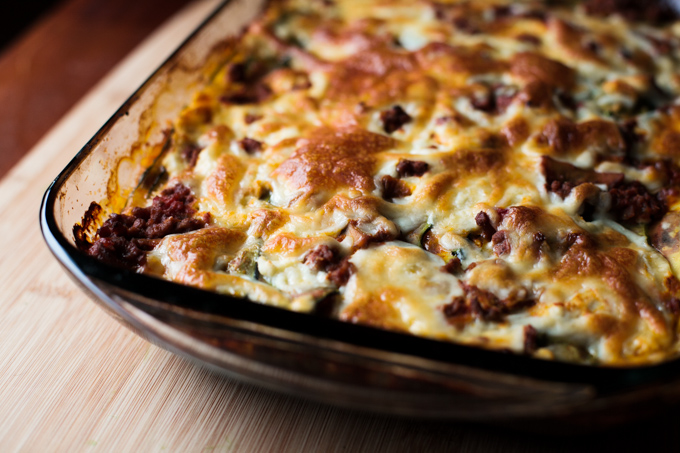
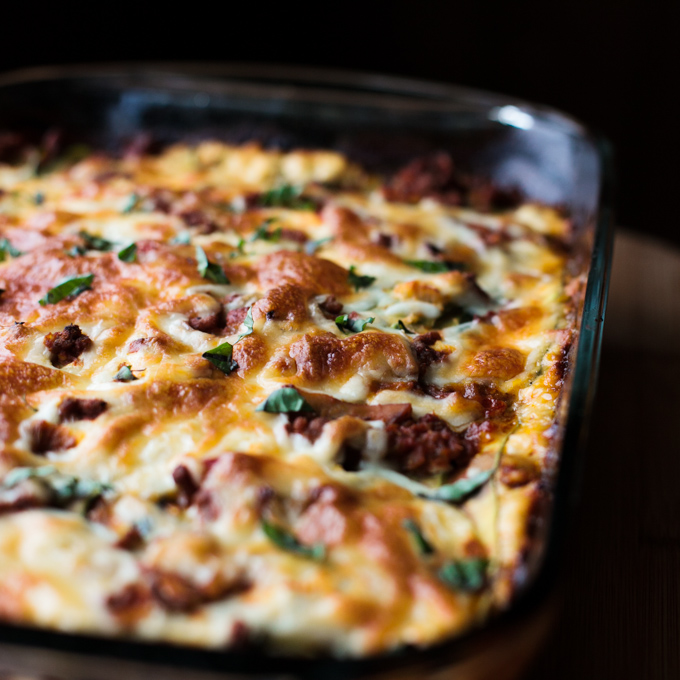
  • Cover with foil and bake at 375 for 45 minutes or until the center is hot. Uncover and bake for an additional 15 minutes. Let stand 5-10 minutes before serving.

Lily Dunn is mastering the art of toaster oven cooking in Daegu South Korea where she and her (devastatingly handsome) husband Jonathan teach elementary school English. Lily writes about life, faith, and searching for grace at Such Small Hands. She and Jonathan also share a blog about expat life in Korea at Two Sore Thumbs. You can follow her on Twitter at @LilyEllyn.

Filed Under: Main Course Tagged With: comfort food, crowd pleaser, Guest Post, Italian, lasagna

Brown Butter Chocolate Chip Cookies

April 4, 2014 by Asharae 9 Comments

These cookies. You guys. These cookies are so worth the extra little bit of effort it takes to put them together. Brown butter – sounds crazy right? Sounds high maintenance? Or fancy pants?  Or some other term you may not prefer to be associated with? Well let’s all just take a moment to get over ourselves and change our minds about this. Browning butter is NOT hard to do. It does give these cookies a little dose of magic though. Learning a little something new to end up with magical cookies? I’d say that’s worth it.

The first time I made these, I started heating the butter and quickly remembered I didn’t actually know how to brown butter. YouTube to the rescue – I pulled up this video and watched it as the butter melted. It’s definitely worth the watch if you’re unfamiliar with browning butter and are going to let that stop you from trying this recipe.

I’ve made these cookies several times now, and I especially love making them for groups – they always get a good response! Sometimes I use semi-sweet chocolate, sometimes milk chocolate, but I always recommend buying the good chocolate chips. We’re a little partial to the Ghiradelli brand because that’s what our little podunk grocery store carries. Just don’t go for the cheapest ones. Your taste buds will thank you later! You could also buy bars of semi-sweet or bitter-sweet chocolate and chop them up if you’re wanting chocolate chunk cookies instead – that’s next on my list to try!

Along with our simple bread recipe, these cookies made it into a styled wedding photo shoot we did a couple months ago! Check out the feature on The Lovely Find!

Brown-Butter-Chocolate-Chip-Cookies_This-Wild-Season-2 Brown-Butter-Chocolate-Chip-Cookies_This-Wild-Season-3 Brown-Butter-Chocolate-Chip-Cookies_This-Wild-Season-4 Brown-Butter-Chocolate-Chip-Cookies_This-Wild-Season-5 Brown-Butter-Chocolate-Chip-Cookies_This-Wild-Season-6 Brown-Butter-Chocolate-Chip-Cookies_This-Wild-Season-7 Brown-Butter-Chocolate-Chip-Cookies_This-Wild-Season-8 Brown-Butter-Chocolate-Chip-Cookies_This-Wild-Season-9

Brown Butter Chocolate Chip Cookies

Adapted from Bliss
Print Recipe Pin Recipe
Prep Time 40 mins
Cook Time 12 mins
Total Time 52 mins
Servings 24 cookies

Ingredients
  

  • 1 ¾ cups all-purpose flour
  • ½ teaspoon baking soda
  • 14 tablespoons unsalted butter 1 ¾ sticks
  • ½ cup granulated sugar
  • ¾ cups packed brown sugar
  • 1 teaspoon kosher salt
  • 2 teaspoons vanilla extract
  • 1 large egg
  • 1 large egg yolk
  • 1 ½ cups semi-sweet chocolate chips
  • 1 teaspoon kosher salt for garnish

Instructions
 

  • Melt butter in a medium sauce pan over medium-high heat. Continue to heat as butter starts to bubble - the bubbling sounds will get louder as the butter heats up. Stir constantly, scraping the bottom and sides of the pan with a spatula as you go. Keep a close eye on it as it will change color quickly. Once the butter turns a nice dark golden brown and has a nutty aroma, remove it from the heat. Transfer butter to a heat-proof bowl and let cool. You may place it in the fridge for 15-20 minutes to speed up the process.
  • Preheat the oven to 375 degrees F.
  • Combine flour and baking soda in a medium bowl and set aside.
  • Once butter is cooled, but not hardened, place in the bowl of a stand mixer, along with both sugars, salt, and vanilla. Mix until light and fluffy, about 3-5 minutes.
  • Add egg and egg yolk and mix until combined.
  • Mix in flour mixture until just combined.
  • Stir in chocolate chips with a spoon or spatula.
  • Scoop 2 Tbs of dough at a time onto a baking sheet lined with parchment paper. You'll need to do at least two separate batches in the oven. Should make about 24 cookies.
  • Bake for 9-12 minutes, till the edges just start to brown. [UPDATE: Definitely aim to bake these on the lower end of that timeframe, depending on how big your cookies are and how your particular oven bakes. I usually bake mine 8 minutes, check on them and rotate the pan and only bake them one additional minute. These cookies are divine when removed from the oven when the edges are starting to brown. Letting them cool on the pan for a bit while salting them will ensure they're baked through.] Remove from oven, sprinkle with additional salt, and let cool a few minutes before removing from the pan.


Filed Under: Dessert Tagged With: brown butter, chocolate chip cookies, cookies, crowd pleaser, dessert

  • « Previous Page
  • 1
  • …
  • 3
  • 4
  • 5

Hello there!

My name is Asharae. I’m a photographer by trade, wife to an amazing man, and mama to three little ones. I am passionate about creating good food, sharing meaningful conversation around the table, trying new things, and encouraging others to do the same.

Welcome to This Wild Season! This is a place for sharing what I’m learning in the kitchen and outside of it. Most of all, it is a challenge to myself and to you to slow down, be present in the moment, and re-learn how to savor food and conversation around the table.

About

Search

Connect

  • Facebook
  • Instagram
  • Pinterest
  • Twitter
  • Vimeo

Find my book on Amazon:

Recent Posts

  • Emmeline’s Birth Story, The Story of Her Name
  • Emmeline’s Birth Story, Birth Day Part 2
  • Emmeline’s Birth Story, Birth Day Part 1
  • Emmeline’s Birth Story, My Pregnancy
  • Emmeline’s Birth Story, An Introduction
Follow on Bloglovin
Visit This Wild Season's profile on Pinterest.

Copyright © 2025 · Foodie Child Theme by Shay Bocks · Built on the Genesis Framework · Powered by WordPress